Pulling your files from an AWS S3 bucket
Overview
If your data is stored in AWS S3 we can configure AgileData to collect it directly from your storage bucket
Steps
1. Sign in to AWS S3
To get started, open AWS S3 Console
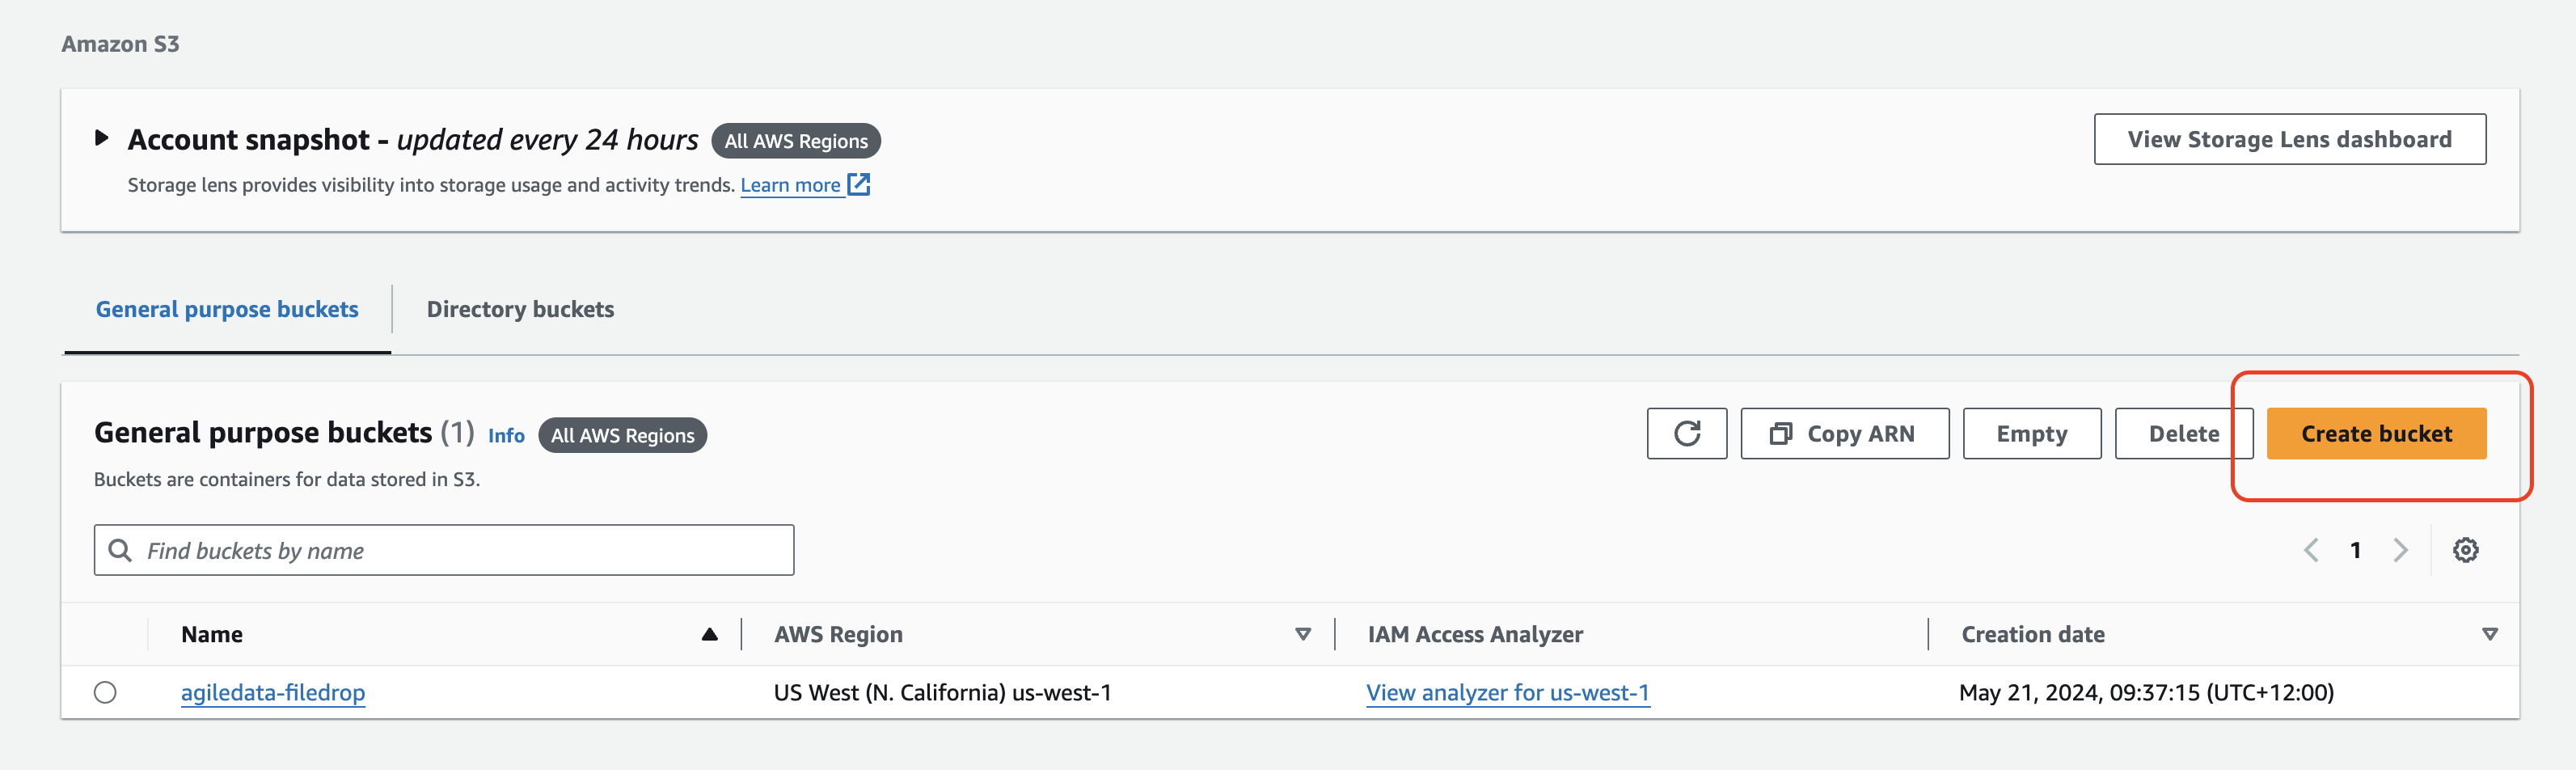
If you haven’t already created a bucket to hold the files you want to transfer to AgileData, then use the “Create Bucket” option to create one now.
In the screen capture above I’ve created a bucket called agiledata-filedrop which I’ll use for this guide.
2. Setup access to your storage bucket
Once your bucket has been created, you can setup the access permissions so the files can be transfered to AgileData.
To get started, open Security Credentials (IAM)
Scroll down to Access Keys
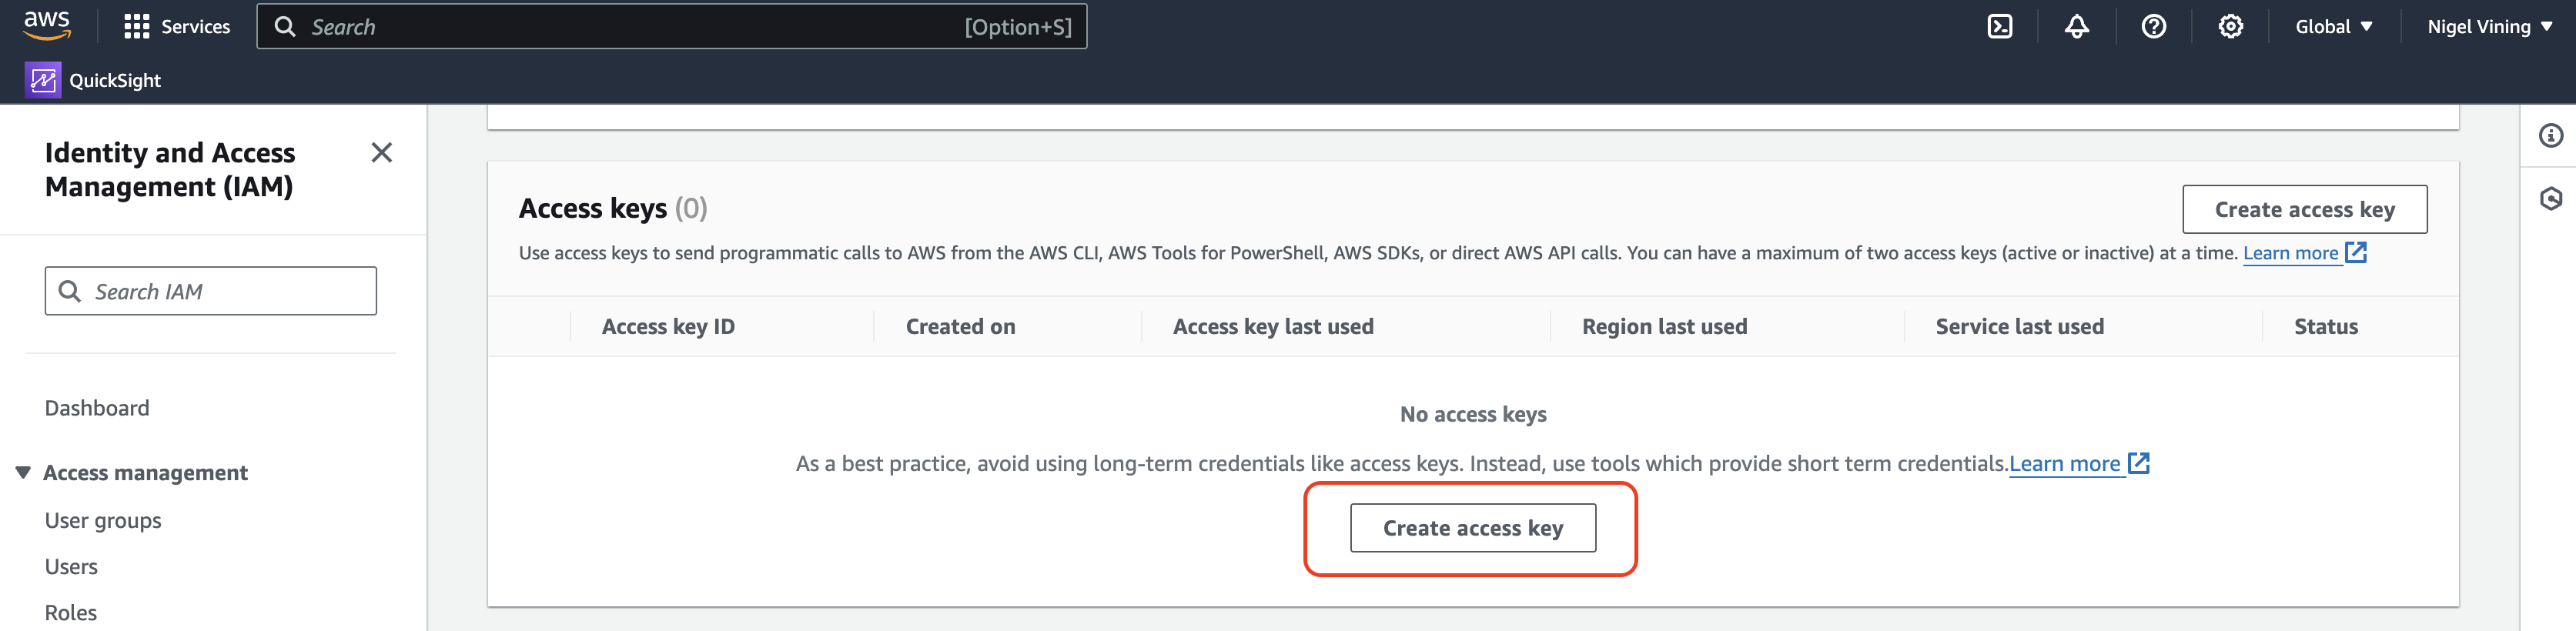
Use the Create Access Key option to create a new access key.
Because I am using my root account to create a key there are a number of warnings.
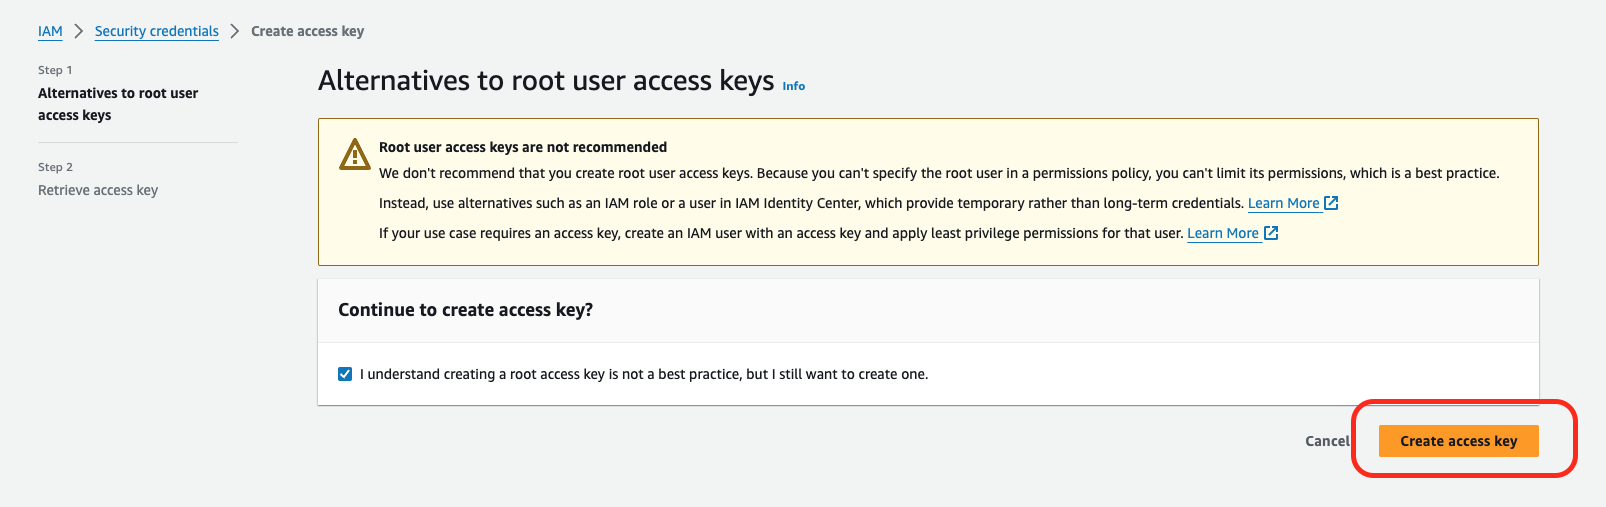
Good practice is to create an account eg ‘filedrop-bucket’ with minimal privledges.
For example - access to the bucket we created above, to read, write and delete files, and nothing else.
On successful key creation you will see
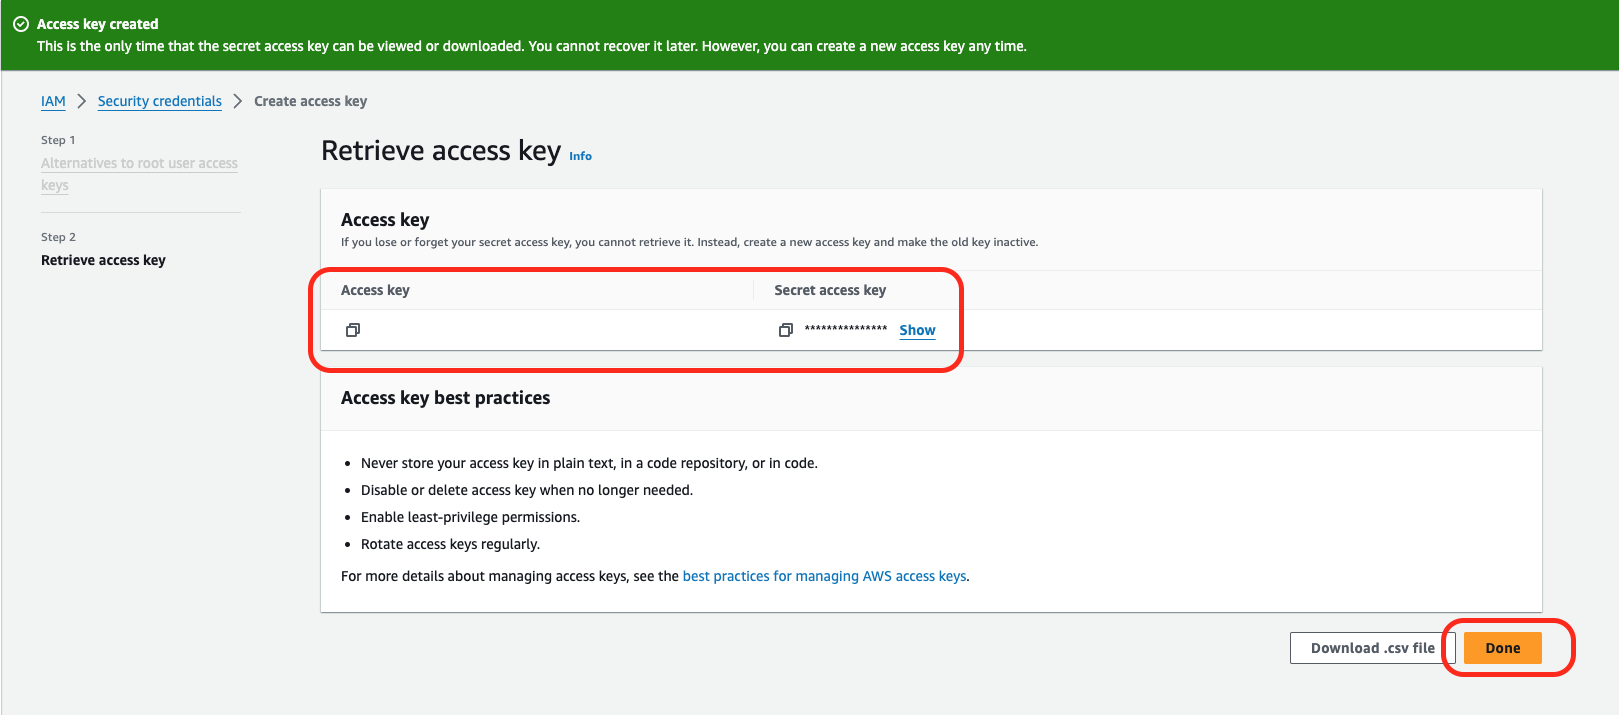
Copy the access key and secret access key and keep them secure until the next step when we will use them to create the transfer job in Google.
3. Create a storage transfer job
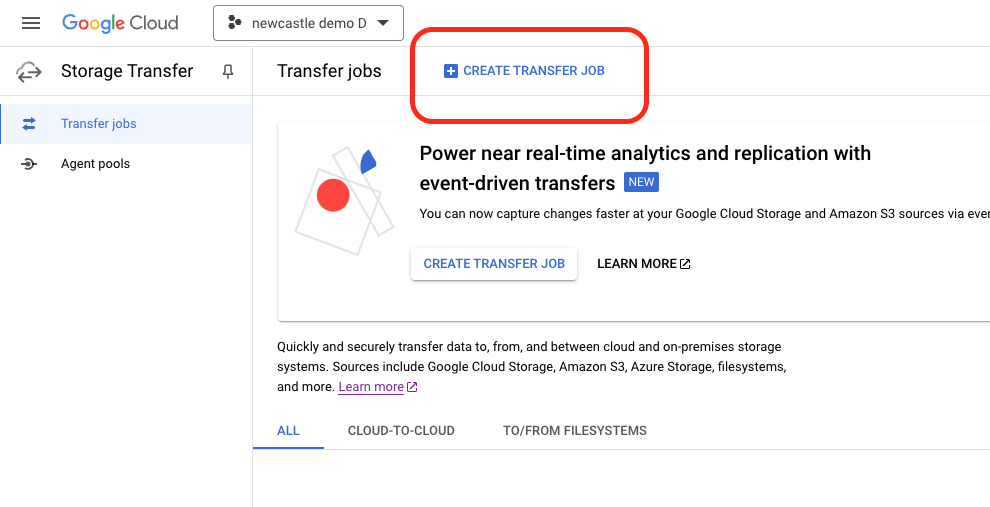
To get started, open Storage Transfer Console
Use the Create Transfer Job option create a new transfer job
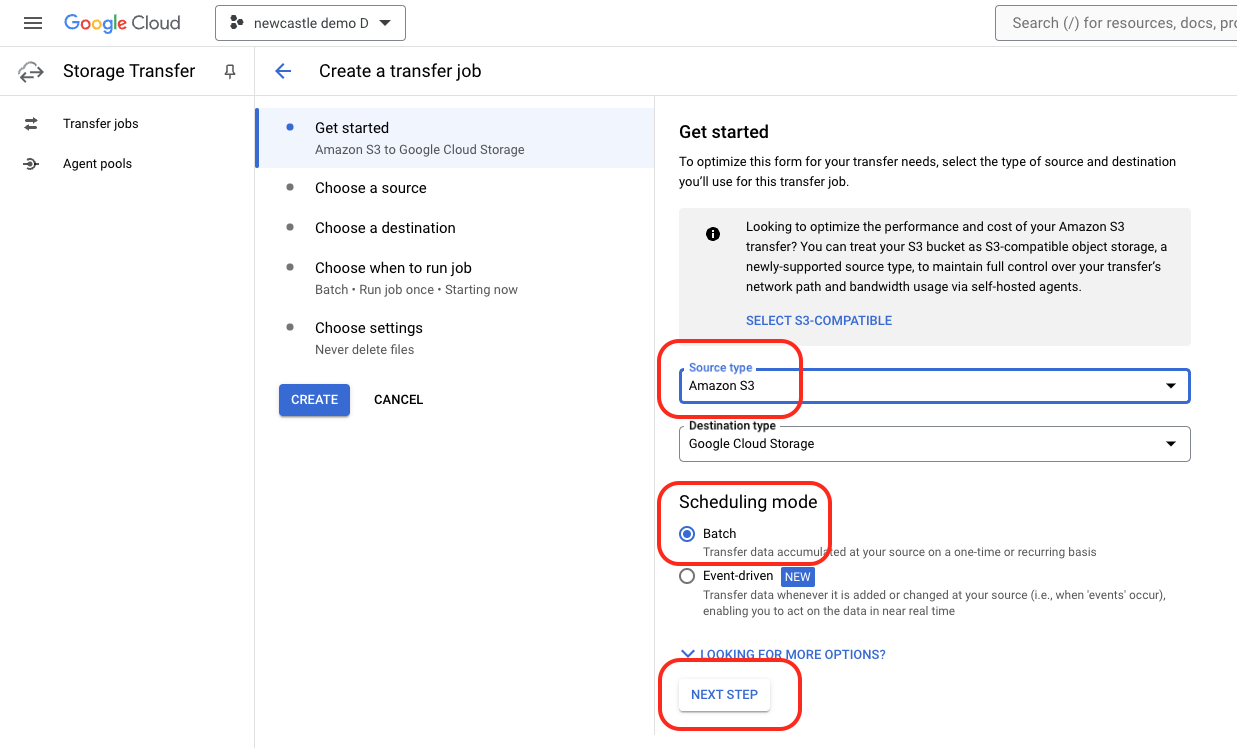
Fill in the source type and scheduling settings
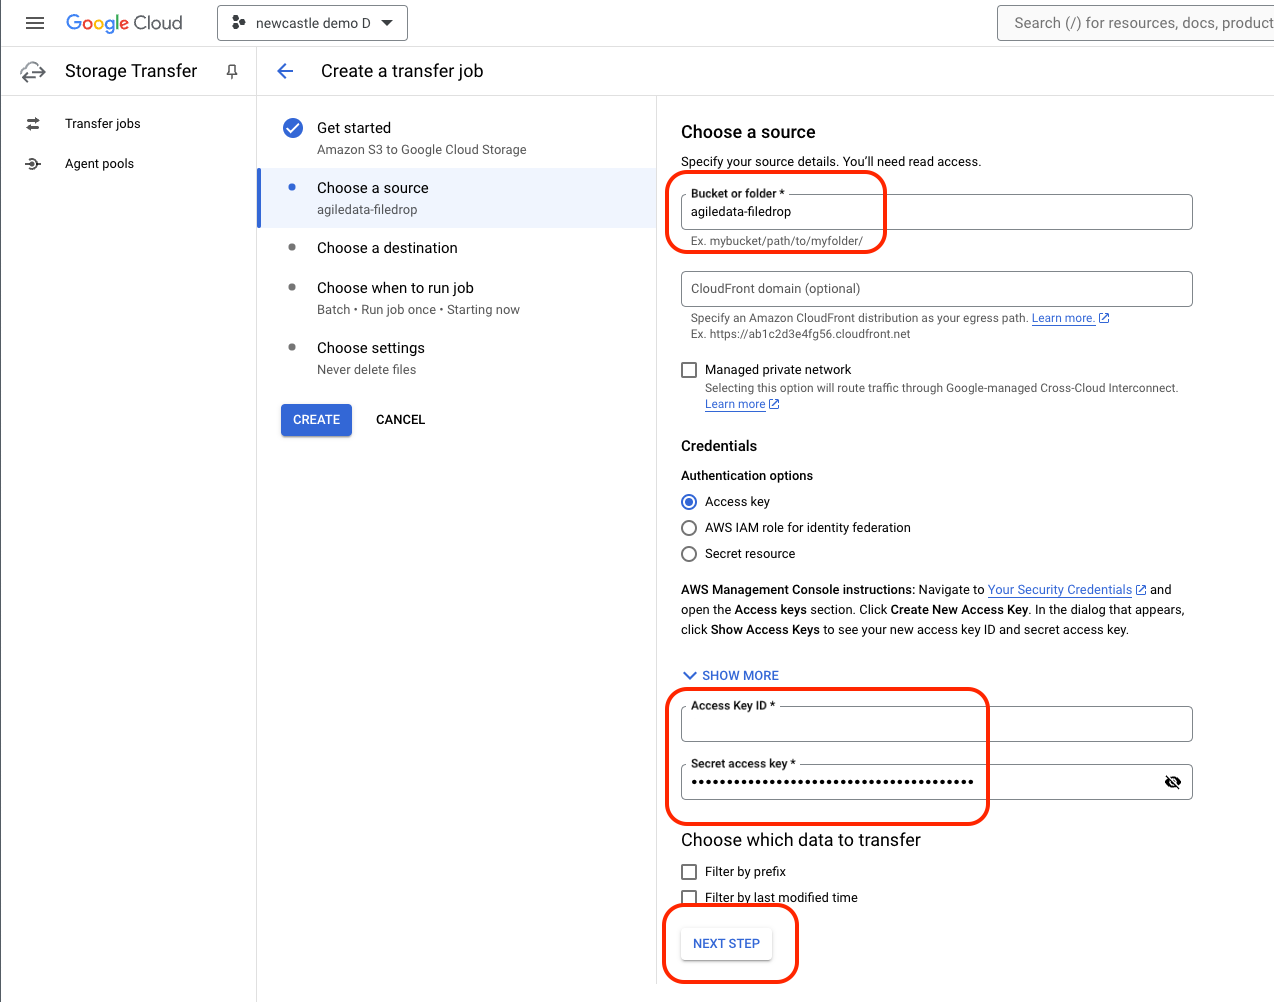
Fill in the source bucket name and access key values we created earlier
Fill in the destination bucket name (see below if you dont know the bucket name)
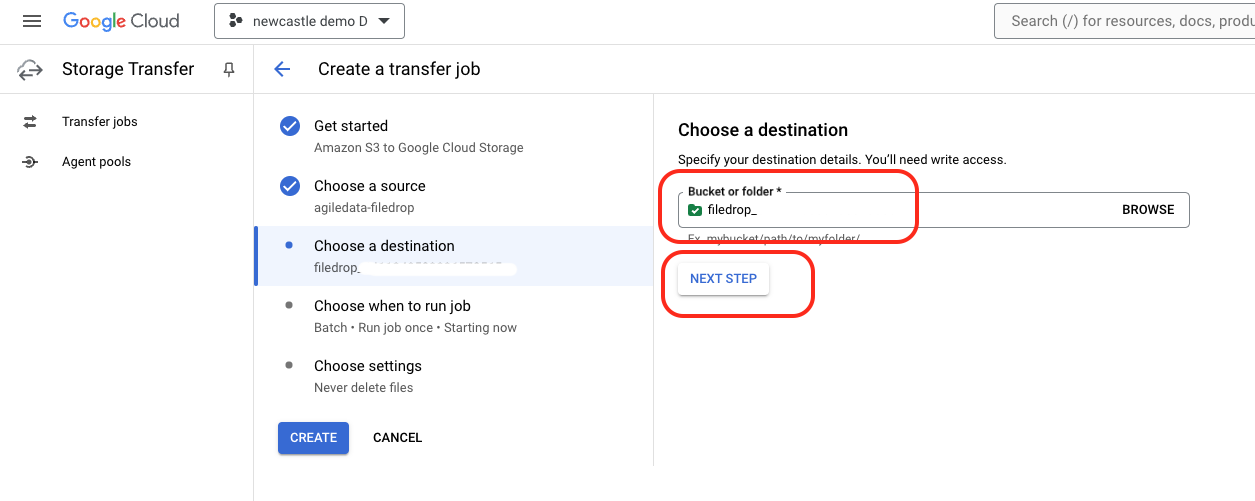
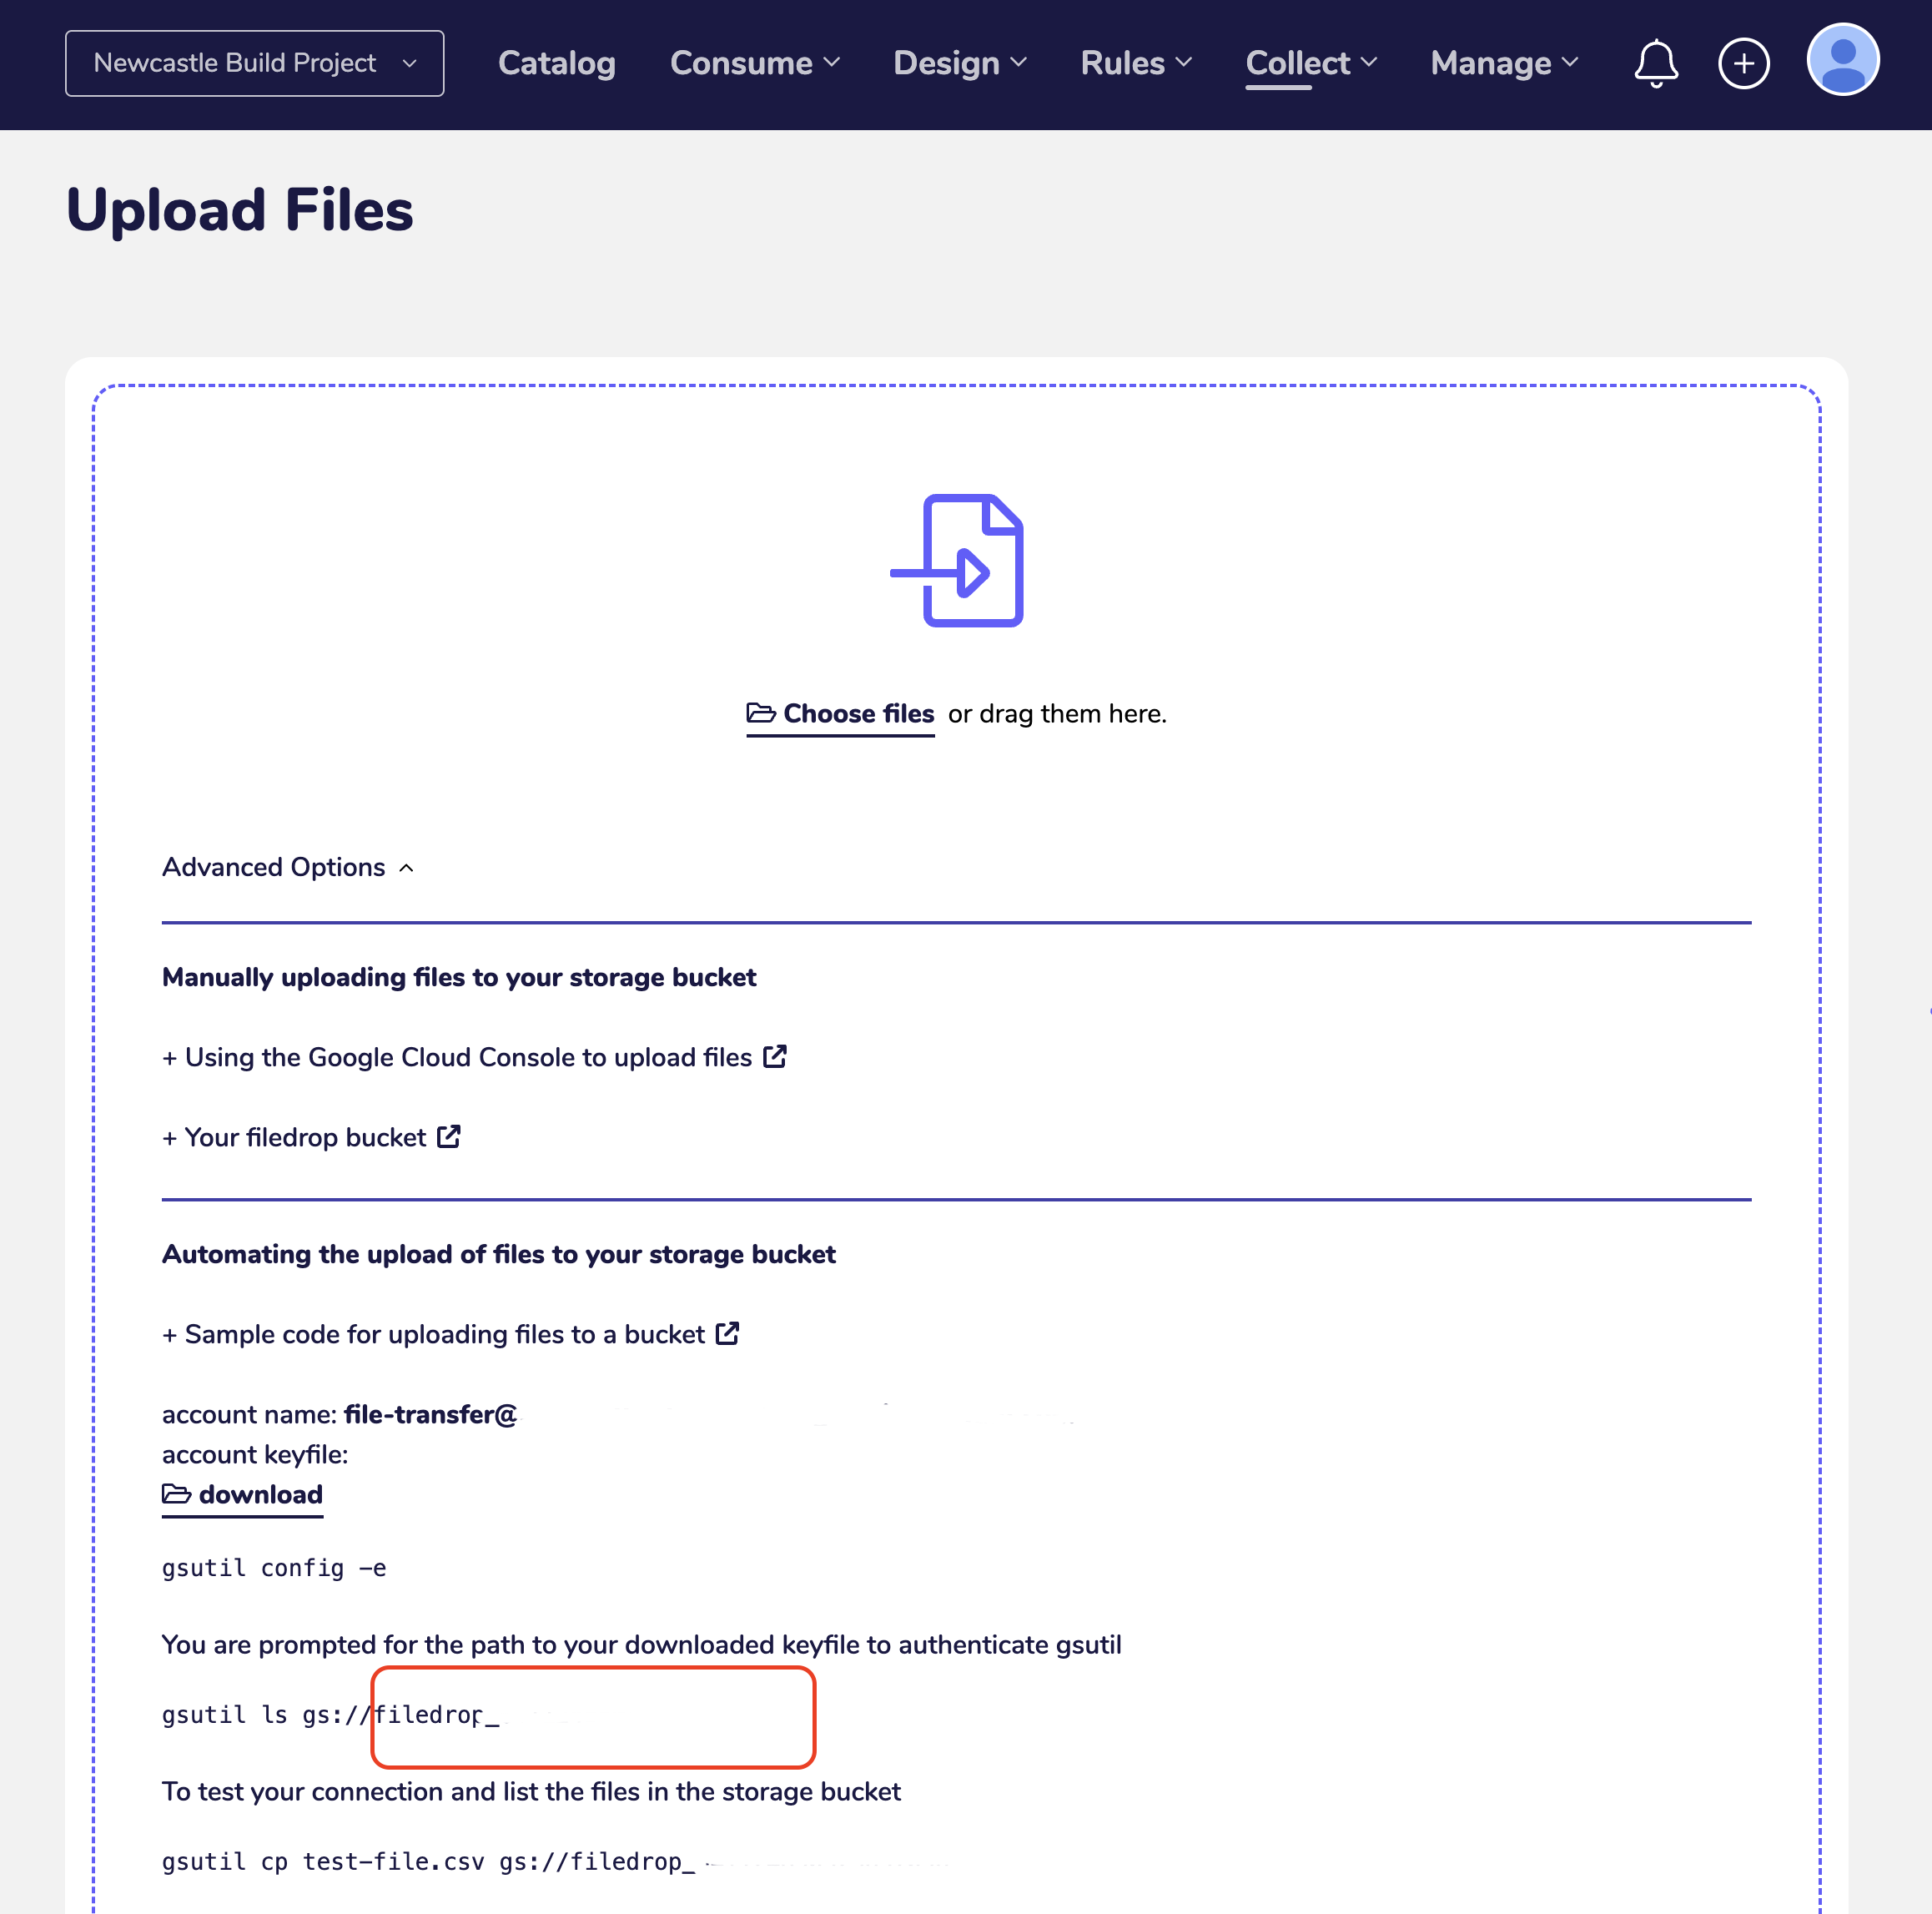
To get the name of the AgileData bucket your files will be transfered to, navigate to the Collect > Upload Files page
Expand the Advanced Options to see your tenancies filedrop bucket name, this is the value you will copy into the transfer job configuration.
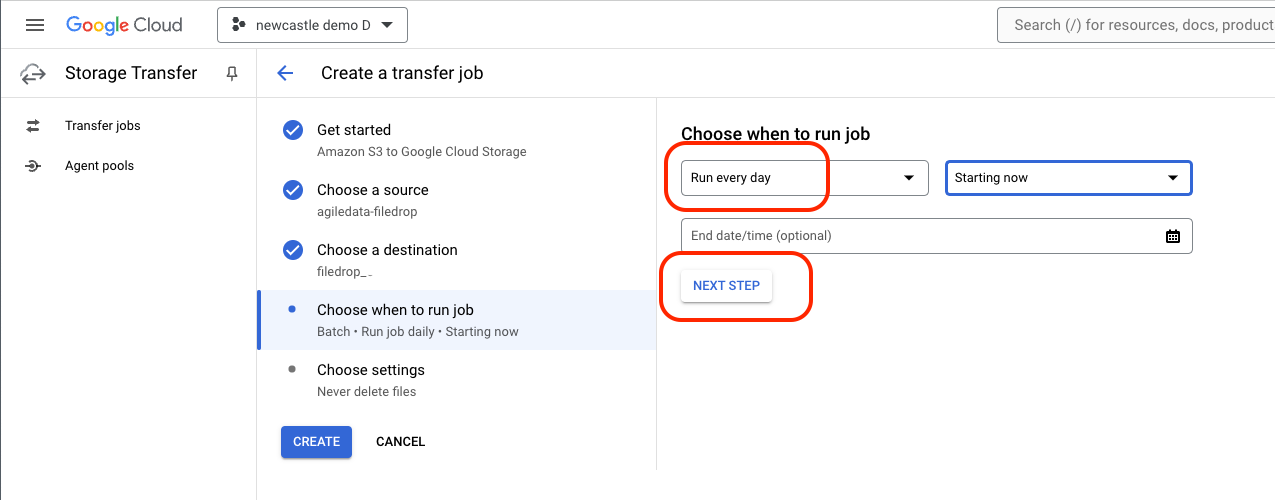
Set the frequency of the data transfer
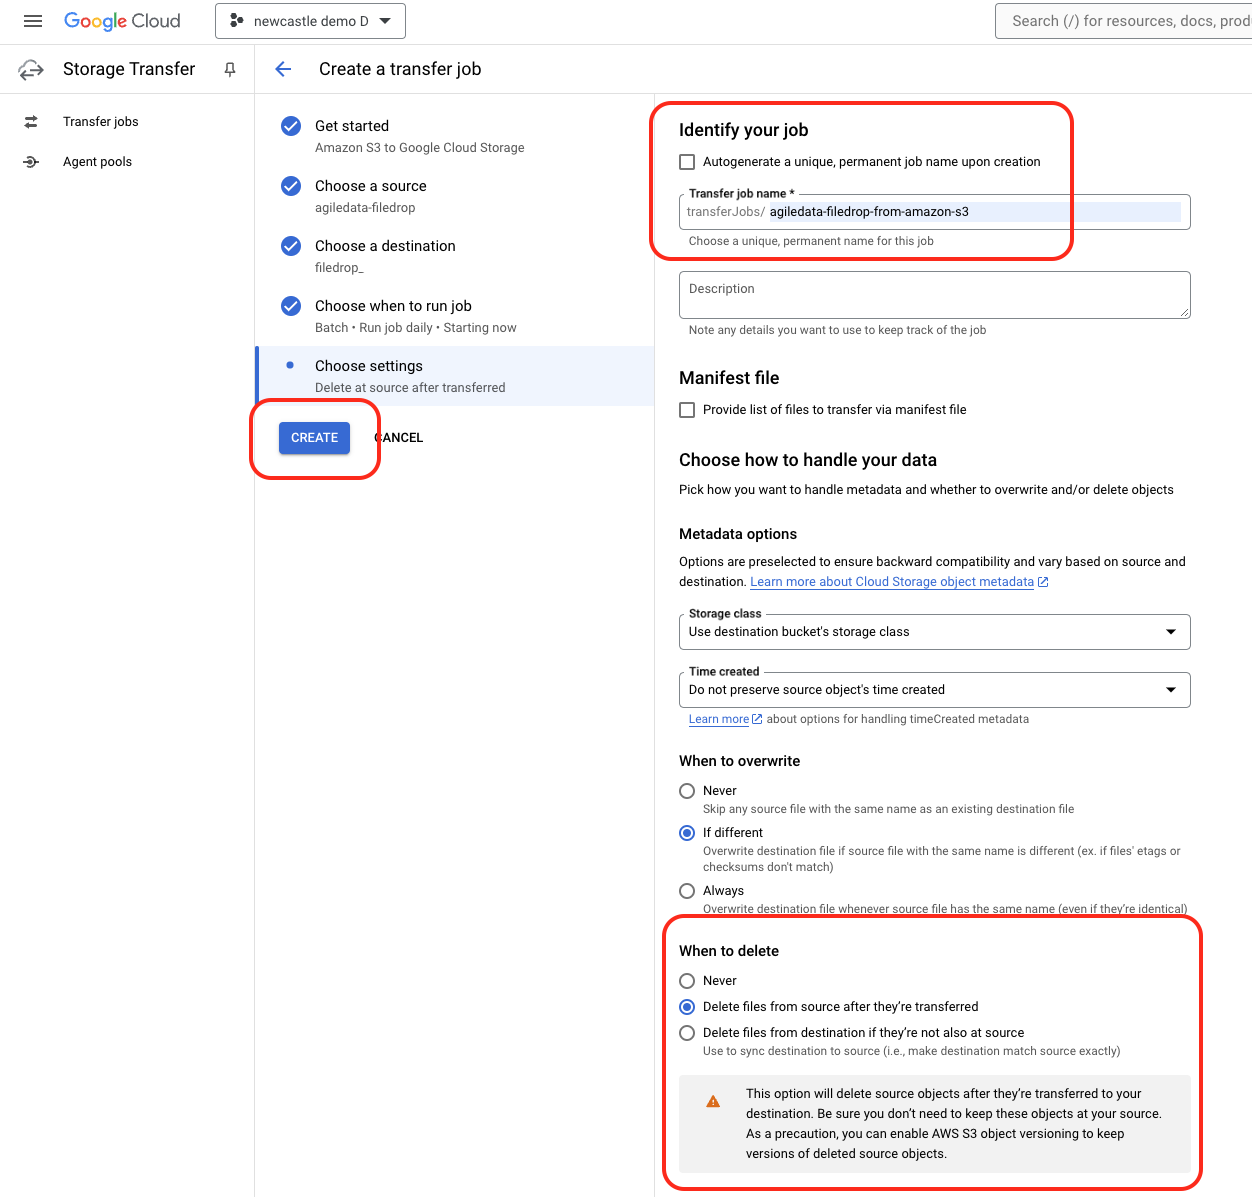
Set the name of the data transfer job, and set the source files to be deleted once transferred (important), then click Create
On successful transfer job creation (and initial sync) you will see
