Manual Upload Files via AgileData App
Overview
Data can be collected into AgileData in a variety of ways. If you don’t want to pull your data from an external SaaS application like Shopify or Salesforce, you can also choose the option to manually upload a data file.
This can be useful if the data in your organisation gets handled in spreadsheets or if you just want to conduct quick analysis.
The AgileData App supports the upload from three different file types:
Upload data as CSV file (.csv).
Upload data as Excel file (.xls).
Upload data as JSON (.json).
The AgileData App makes it easy to import data from these well-known sources for further analysis.
Click Through
Link to Click through guide if it is not visible above:
Uploading Data As CSV File
1. Uploading CSV file in the AgileData App
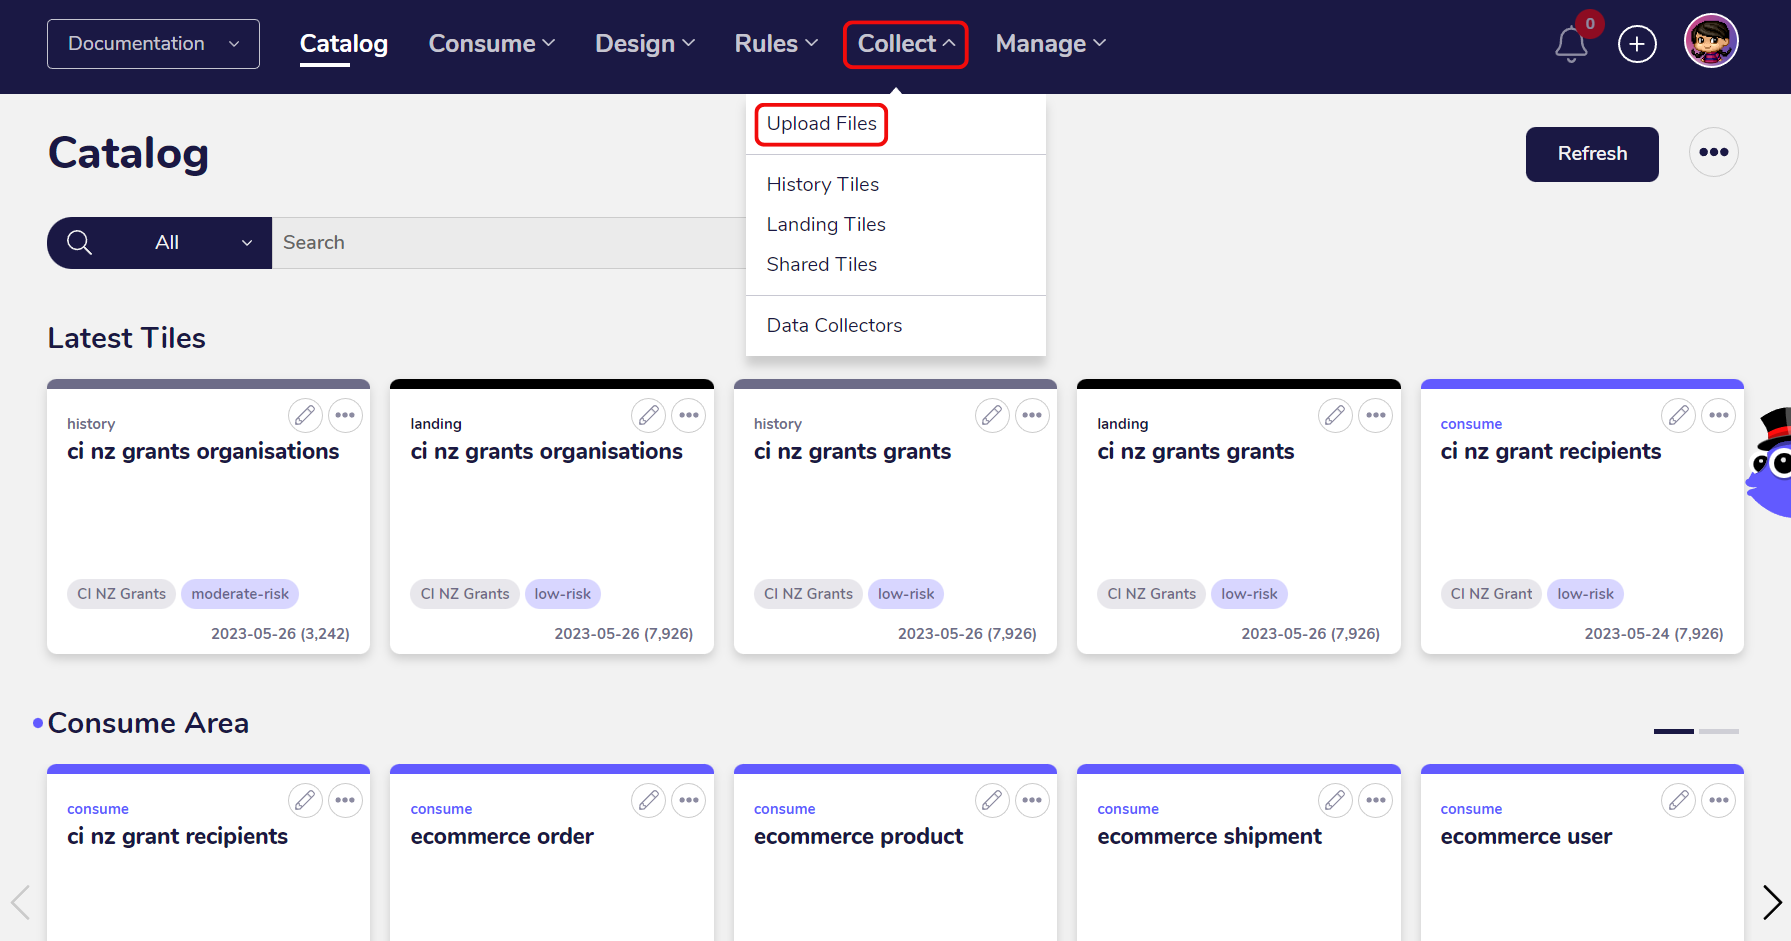
To upload a CSV file, open the AgileData App and click on the “Collect” menu. Choose the “Upload Files” option.
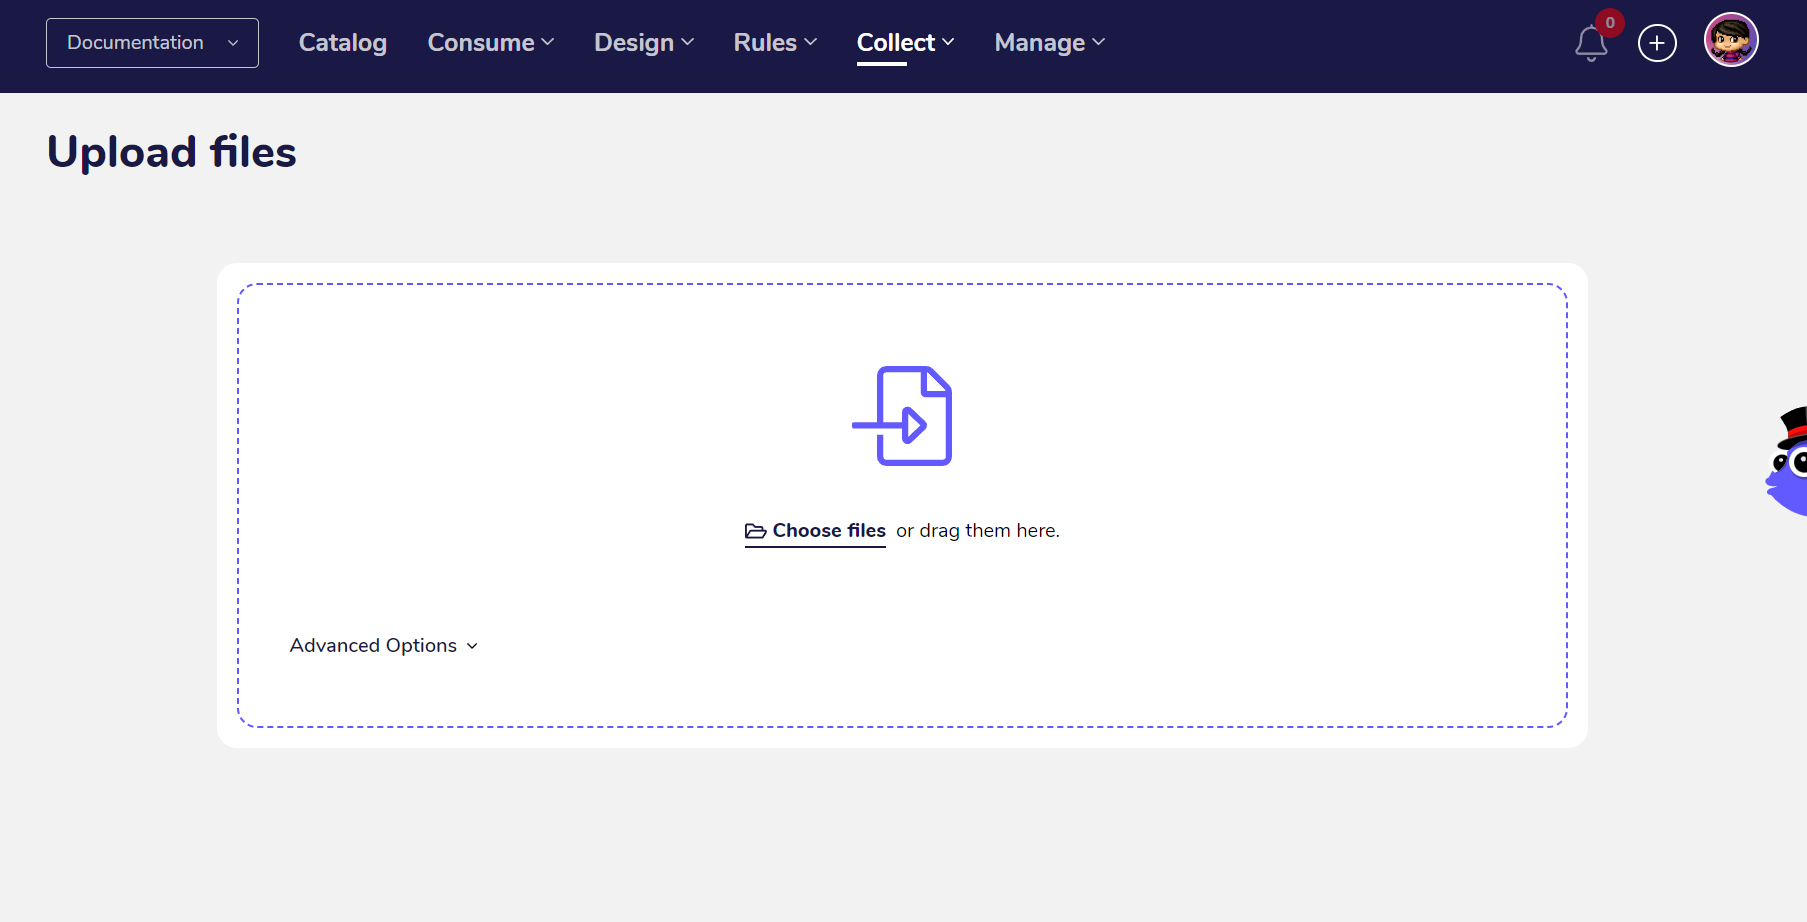
Select the CSV file you want to upload. You can upload files from your local machine or from Dropbox and other cloud storage options.
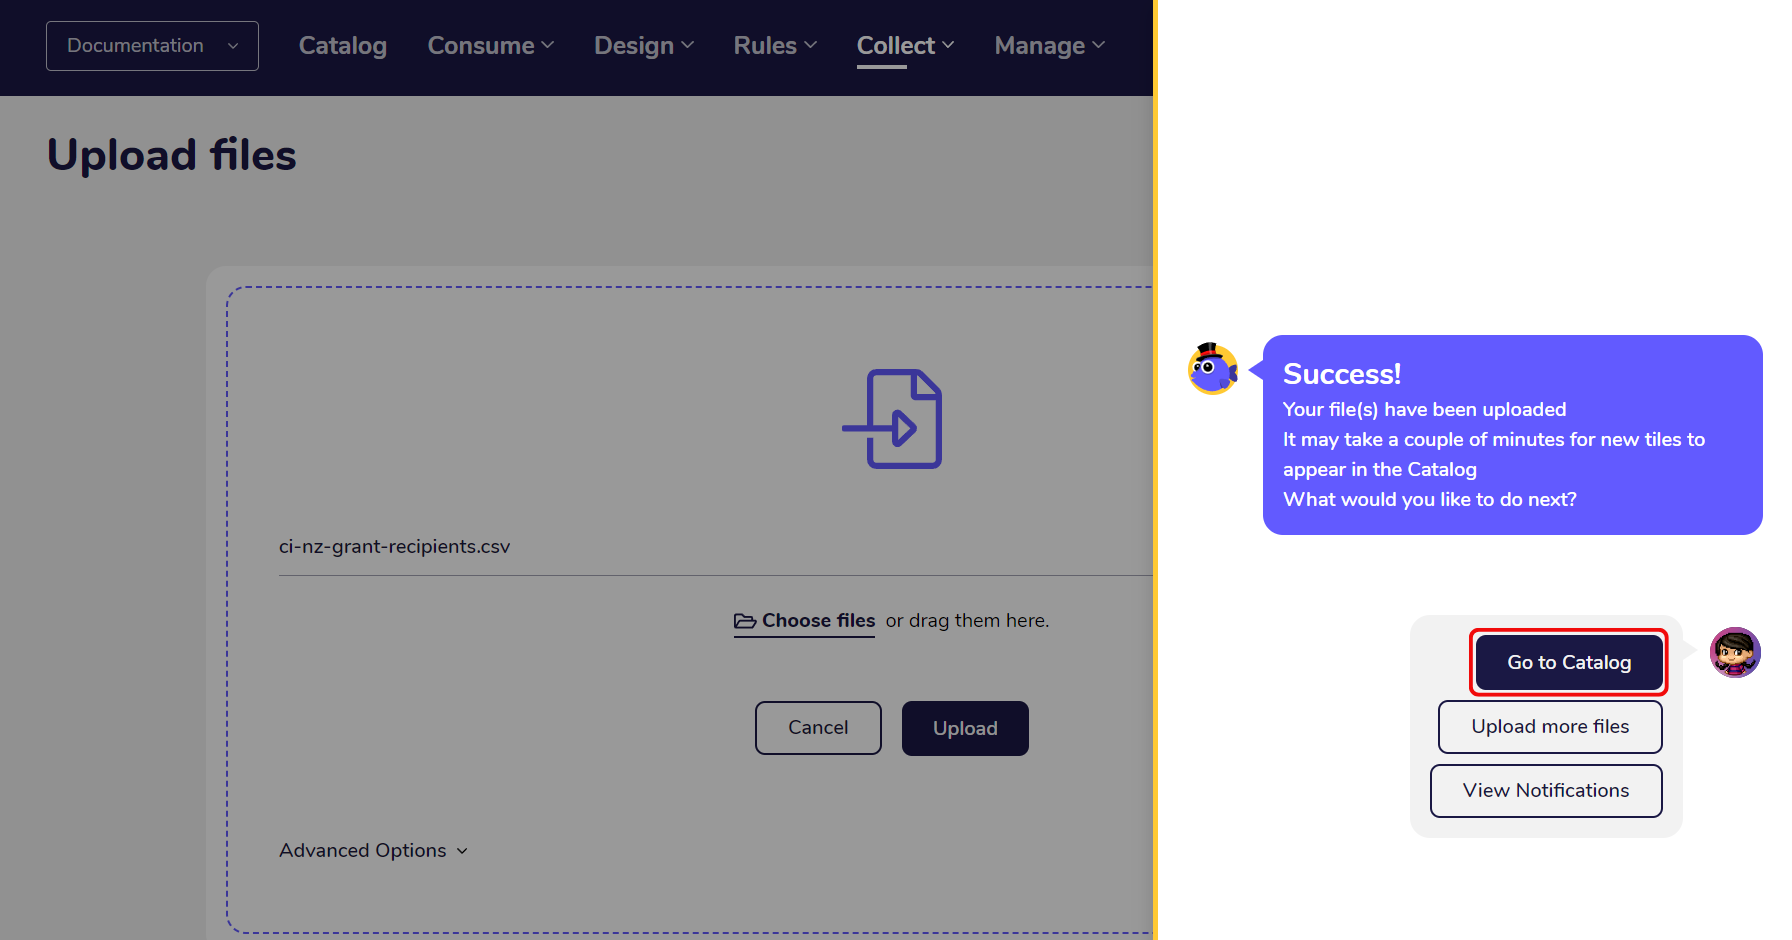
Once the upload was completed, you get shown a success message. Click on “Go To Catalog” to see how the CSV file gets transformed into tiles.
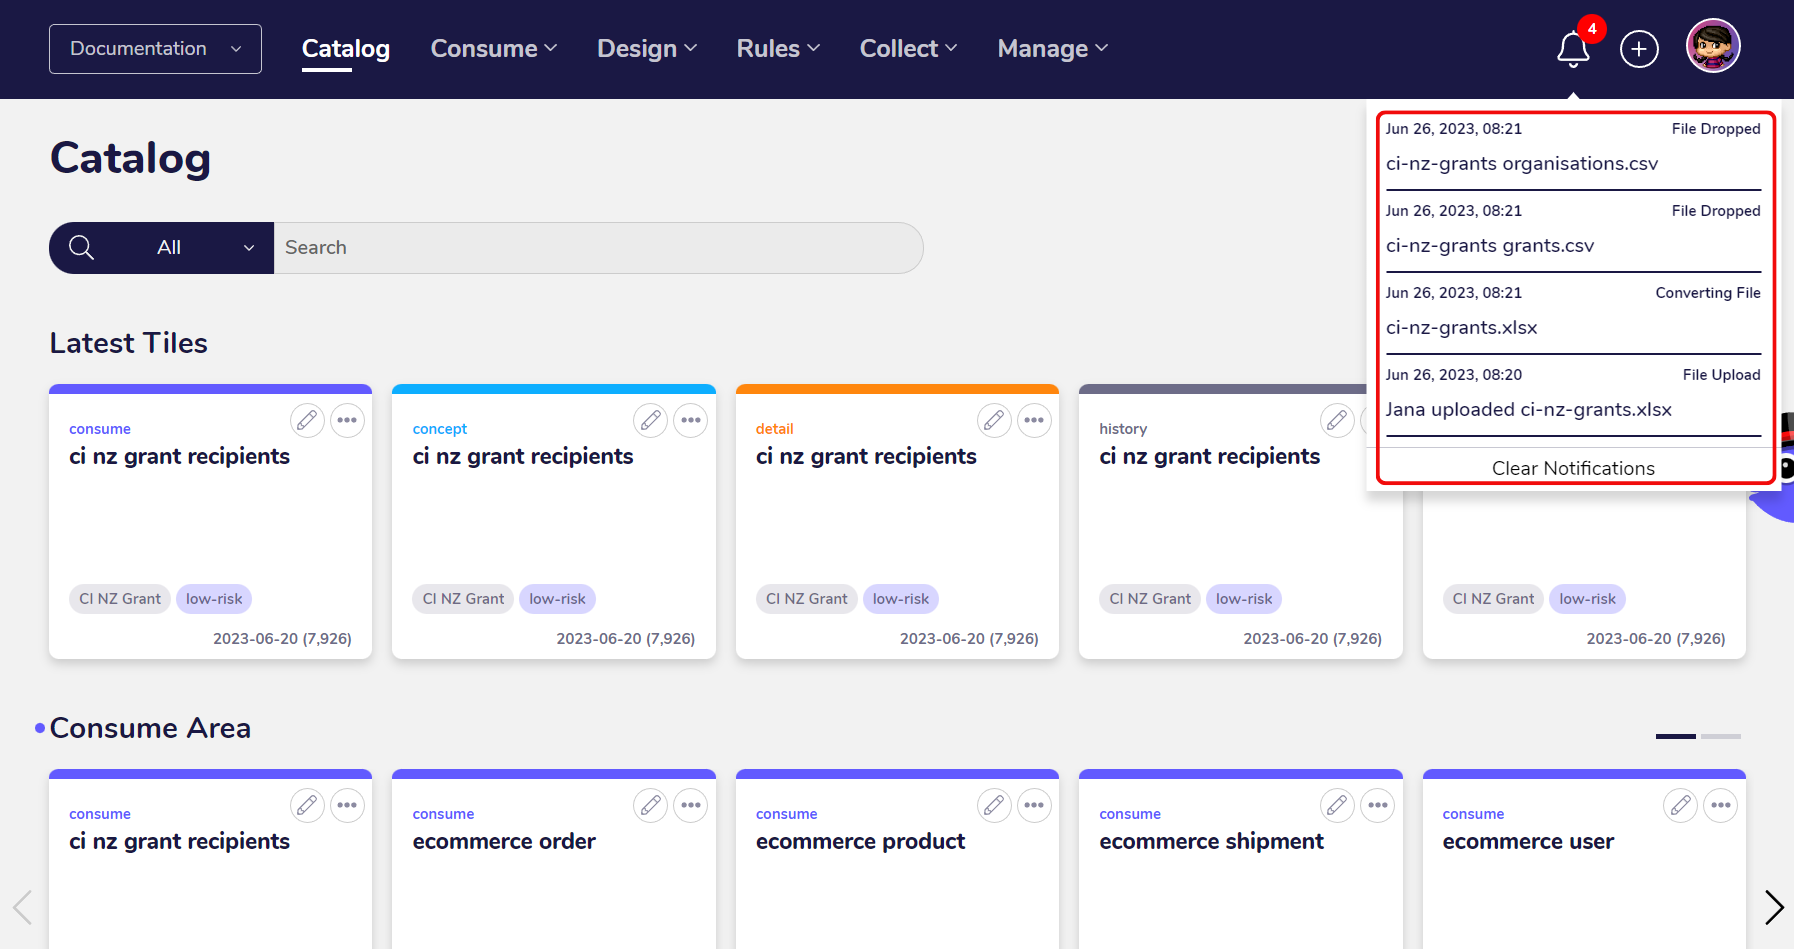
2. Landing Tile gets created
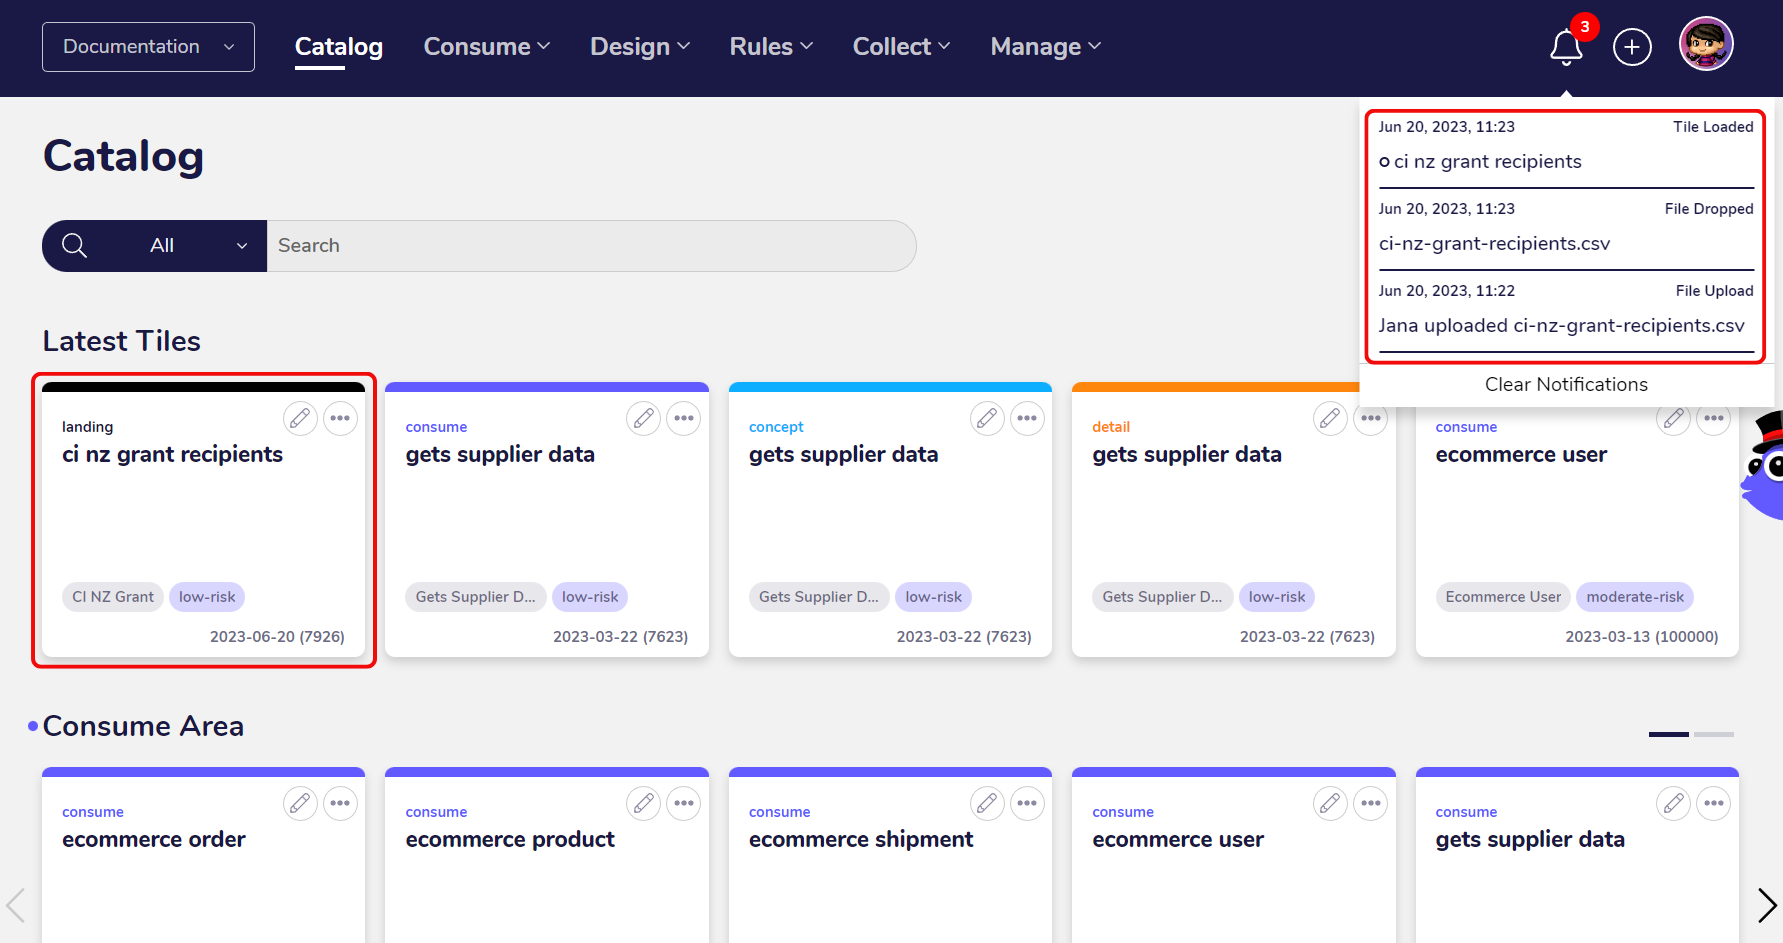
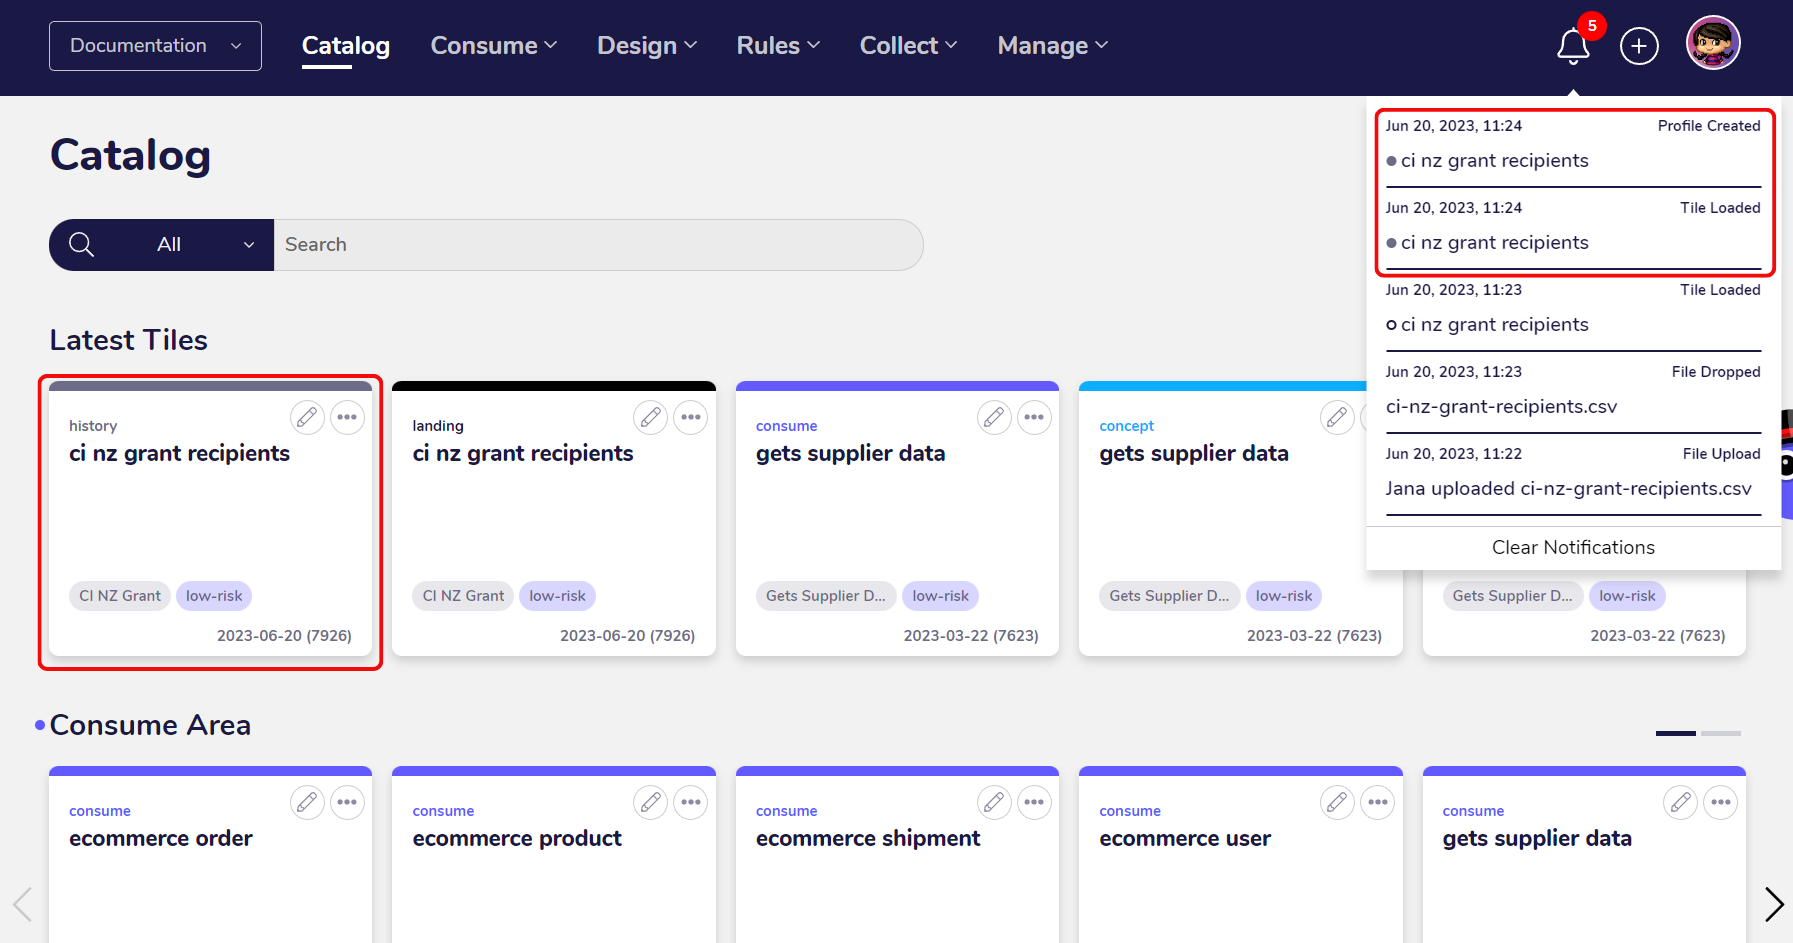
After the upload, AgileData automatically transforms the data into a landing tile by parsing and profiling the data. You can find the landing tile in the catalog alongside the notifications at the top. The landing tile is a first record of the uploaded data. This process might take a few seconds and you will receive a notification once it is finished.
3. History Tile gets created
The landing tile gets automatically transformed into a History Tile. History tiles are immutable records of your organisations data and store the data permanently. Again, this process might take a few seconds and you will receive a notification once it is finished.
4. Preview imported CSV data
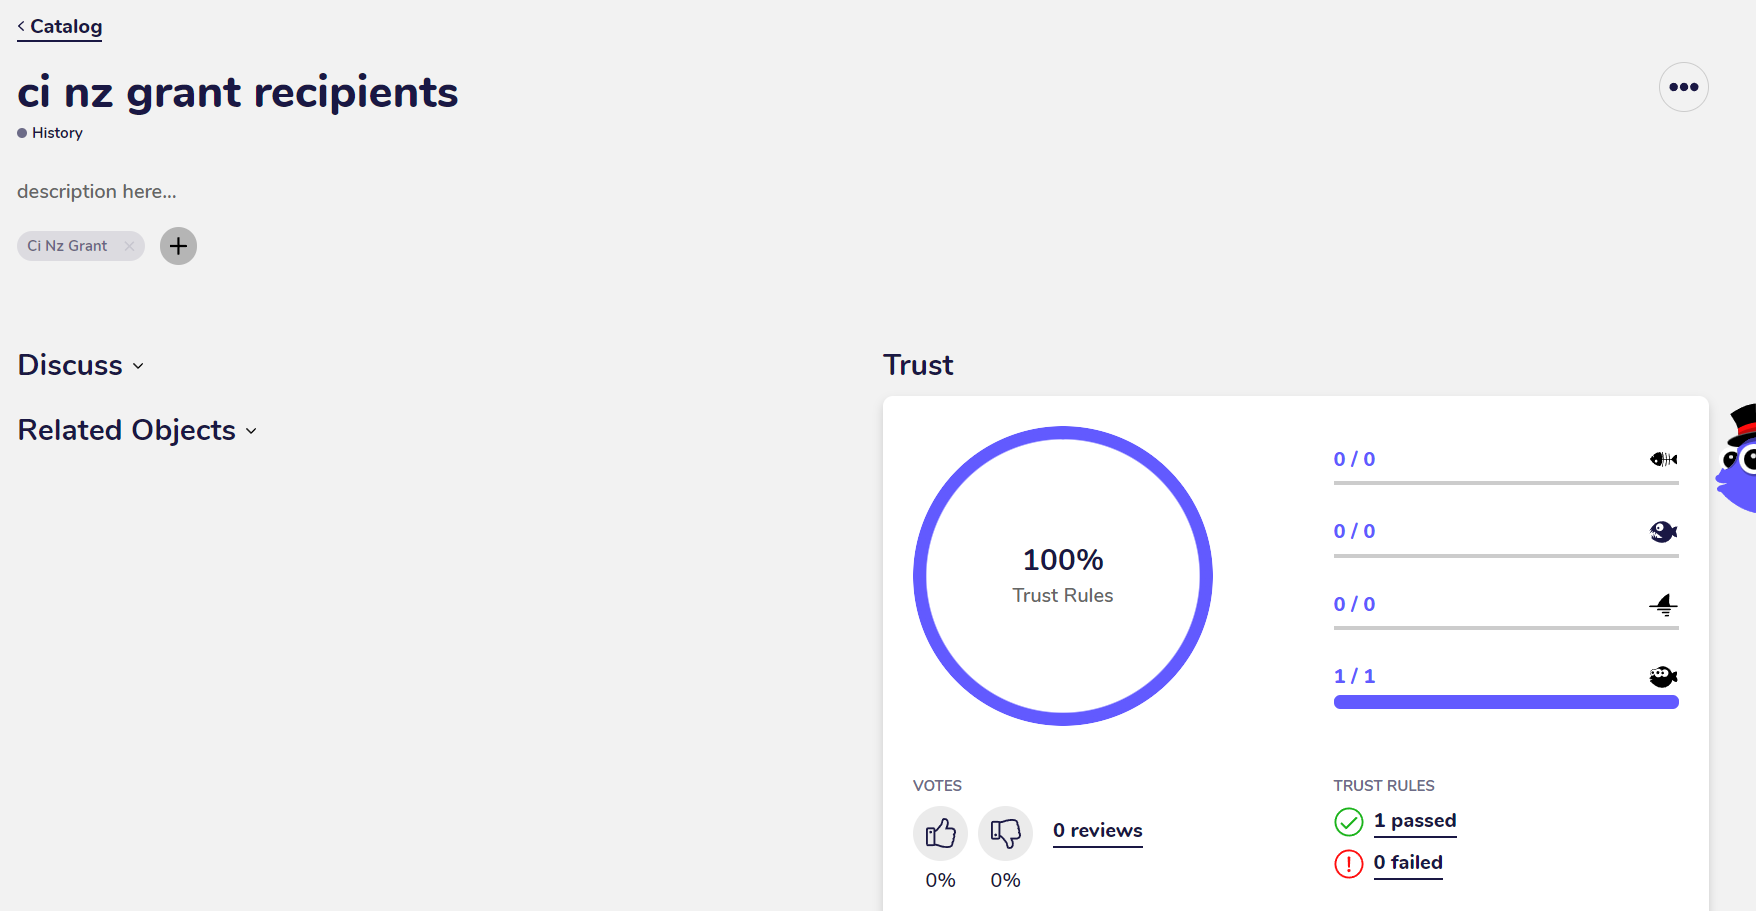
After the History Tile got created, you can preview the imported data from the CSV file by clicking on the History Tile.
In the preview you can see that AgileData automatically created a first Trust Rule for the data. You can later on add further rules as required for testing the data.
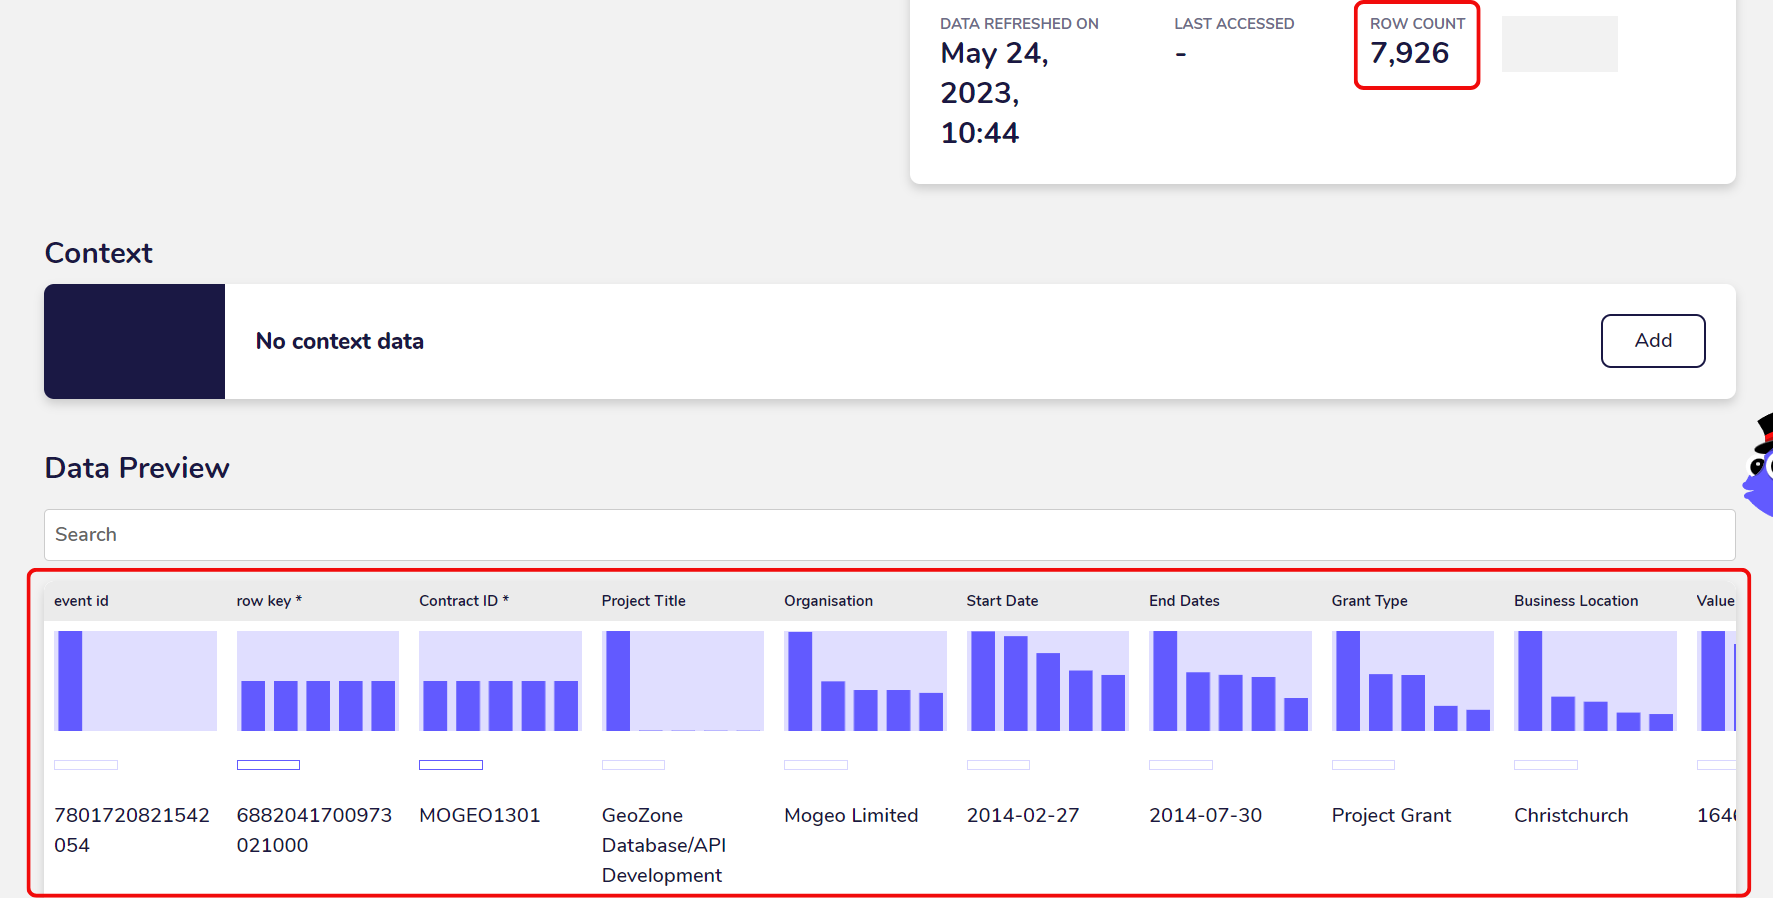
You can also check whether all fields and records from the CSV file got imported correctly. You should ensure that the row number shown in the CSV file corresponds with the row number shown in the History Tile.
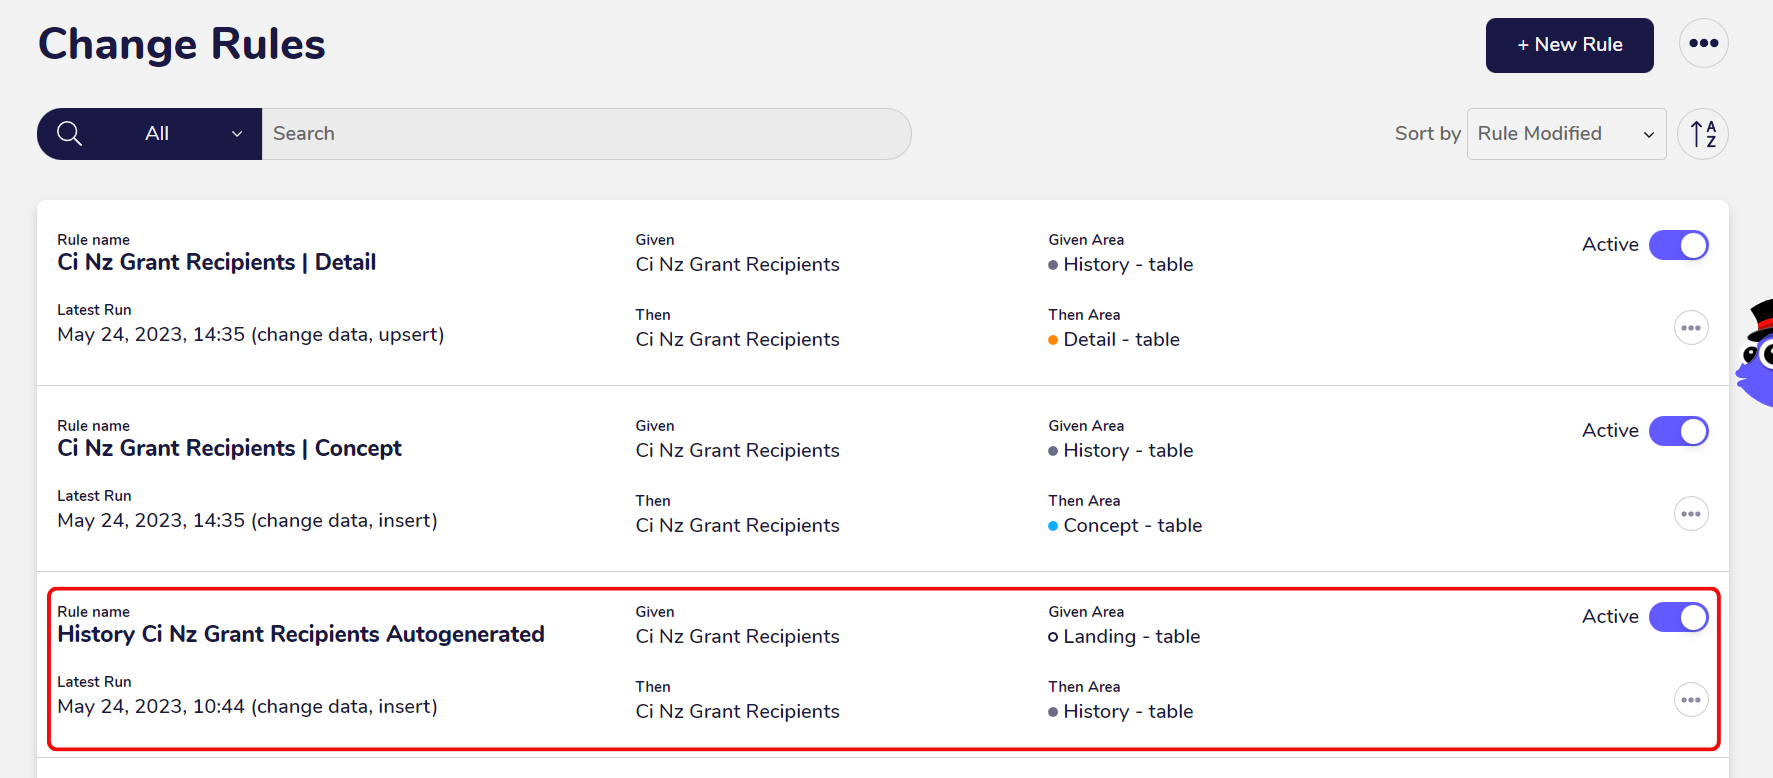
5. Preview created rules
You can also preview the new rule which has gotten created for your data. To go to the rules overview, click on the “Change Rules” menu option in the “Rules” menu.
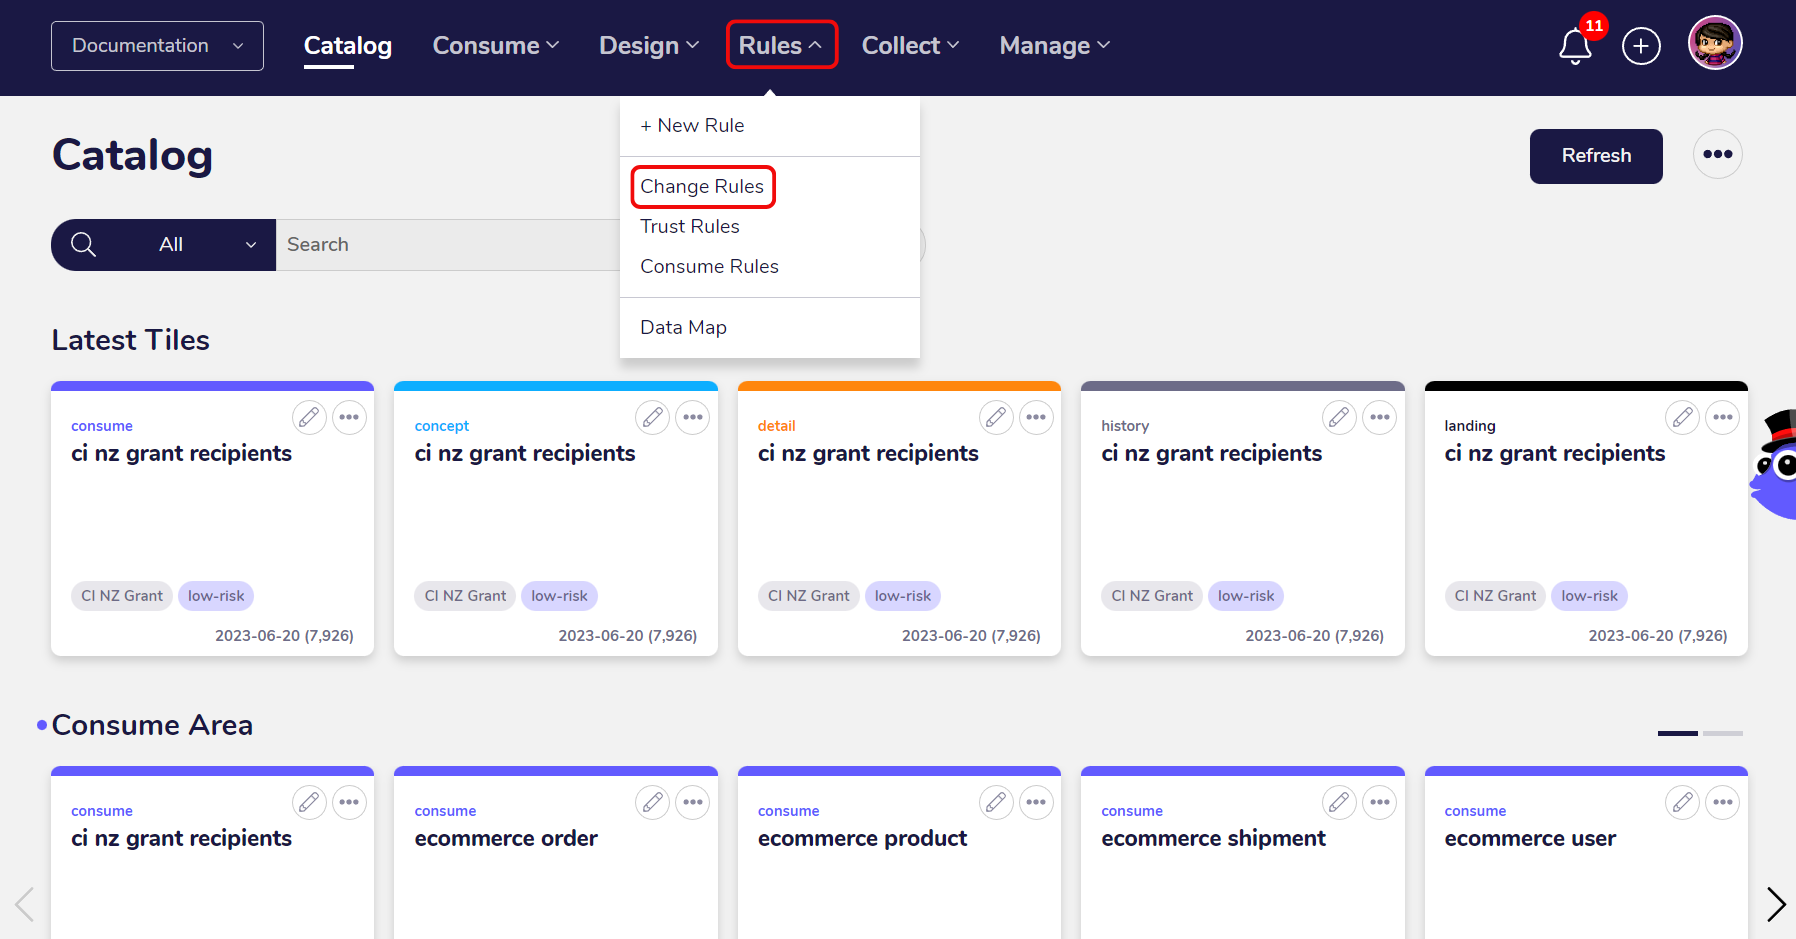
The new rule gets shown under “History Autogenerated”.
Uploading Data As Excel File
1. Uploading Excel file in the AgileData App
The process of uploading an Excel file is similar to uploading a CSV file. Open the AgileData App and click on the “Collect” menu. Choose the “Upload Files” option.
Select the Excel file you want to upload. You can upload files from your local machine or from Dropbox and other cloud storage options.
For this example we’re going to use an Excel workbook containing two sheets, one containing data about business grant recipients in New Zealand and a second one containing further data about the recipient organisations.
Once the upload was completed, you get shown a success message. Click on “Go To Catalog” to see how the Excel sheets get transformed into tiles.
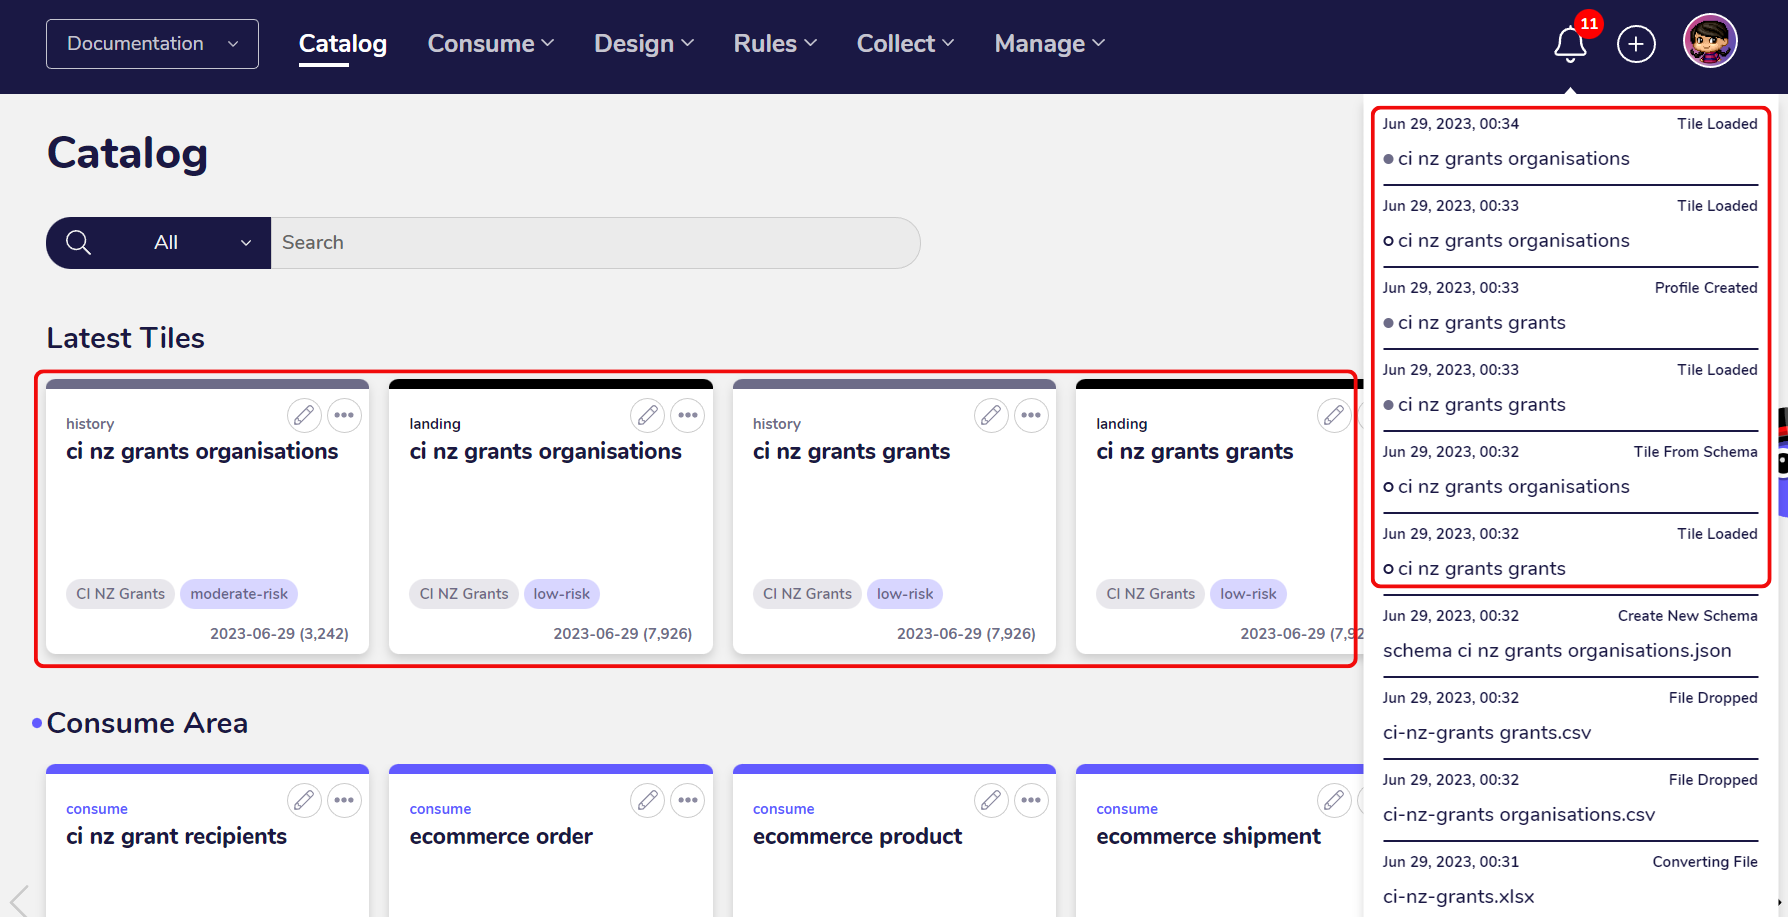
2. Landing Tiles and History Tiles get created for each Excel sheet
AgileData can automatically detect the sheets in the Excel workbook and treat them as distinct files. Each sheet gets transformed into a seperate Landing Tile and History Tile.
First, each sheet get automatically converted into CSV files. These can get treated as single files by the AgileData App and will get seperately profiled in the following steps.
Next, the CSV files get pushed into two Landing Tiles.
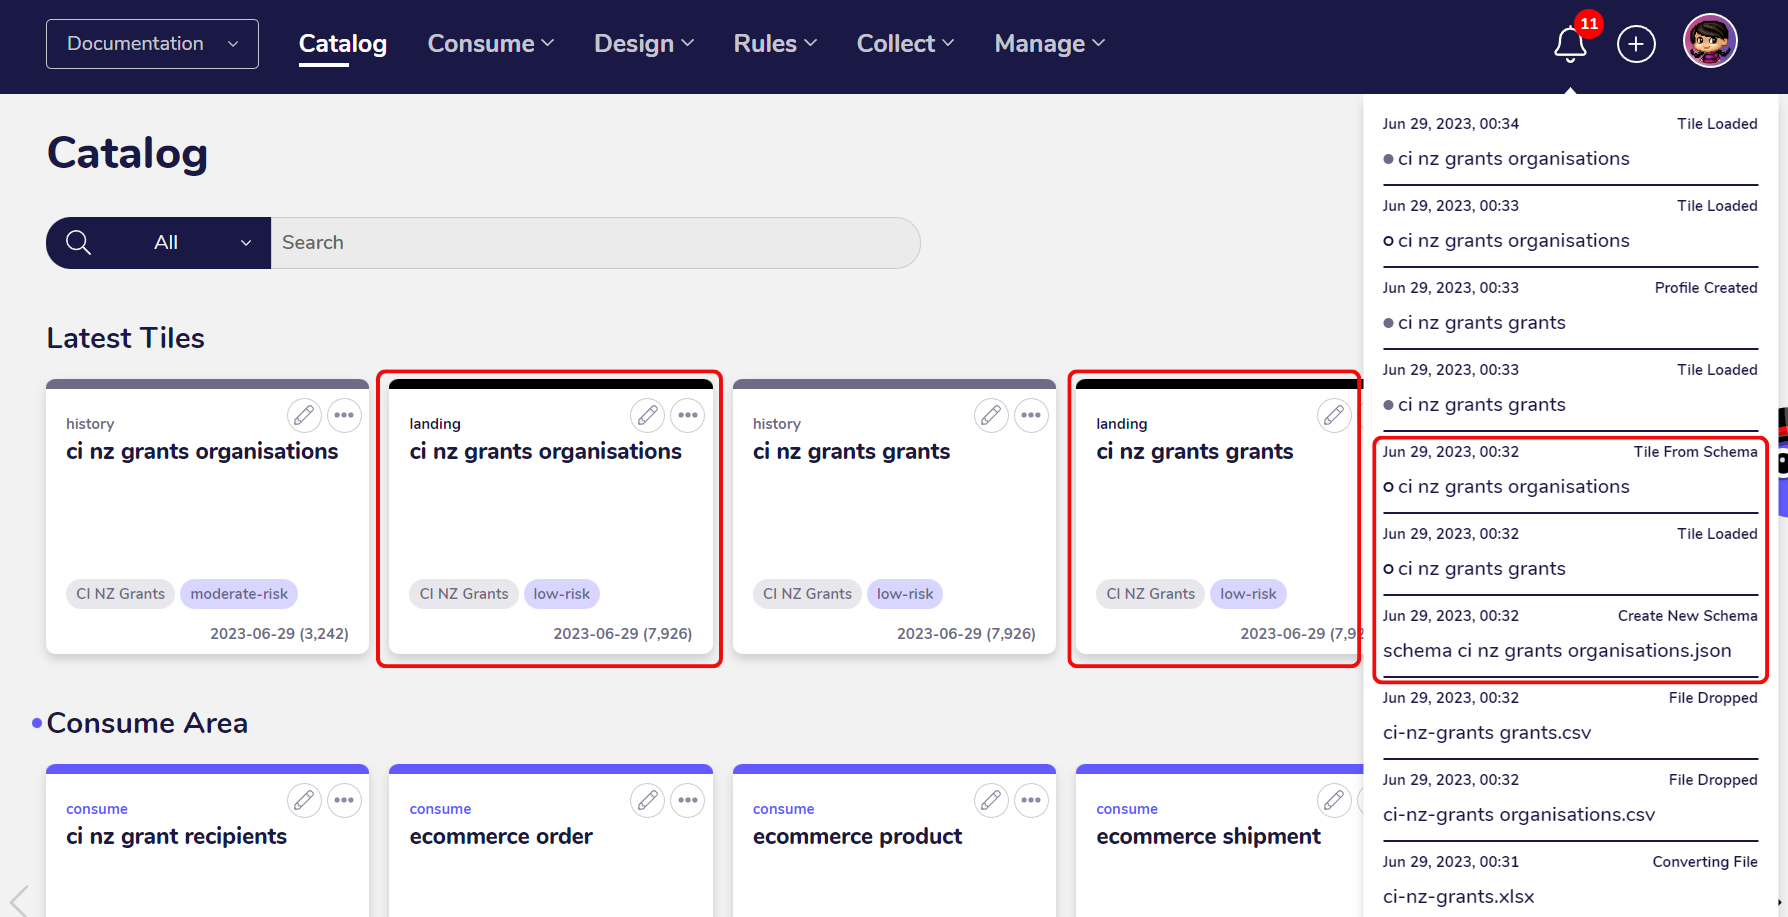
After the Landing Tiles is created, each of them will get used to create a History Tile. In the end, you will have one Landing Tile and one History Tile for each sheet in your Excel workbook.
You can proceed with exploring the uploaded data or previewing the created rules as described above for the CSV files.
All in all, this process accelerates the upload of Excel workbooks, as you don’t have to manually export the single sheets as CSV files and import them again in the application. With AgileData you can upload even entire Excel workbooks swiftly and don’t have to worry about manual file conversions or missing business context.