Add Member
Overview
The AgileData App works for both individuals and teams of data analysts and consultants. By adding more members to your AgileData tenancy you can streamline the data workflow for your entire team. Multiple team members can collaborate and gather insights from your organisation’s data, working in an agile way.
Adding new team members to the AgileData App is easy. All you need to do is add a new member with their Google Account email address.
You also can easily disable or delete members as well as view when members have last accessed the app or consumed data.
Members can get assigned specific roles which come with certain privileges. This is how you can regulate access to your organisation’s data within your team and ensure that only specific team members can edit or change your business rules.
It is important to know that only administrators can add, disable or delete team members. Before adding a new member, make sure your account has administrator privileges in the AgileData App.
Steps
1. View current members and their roles
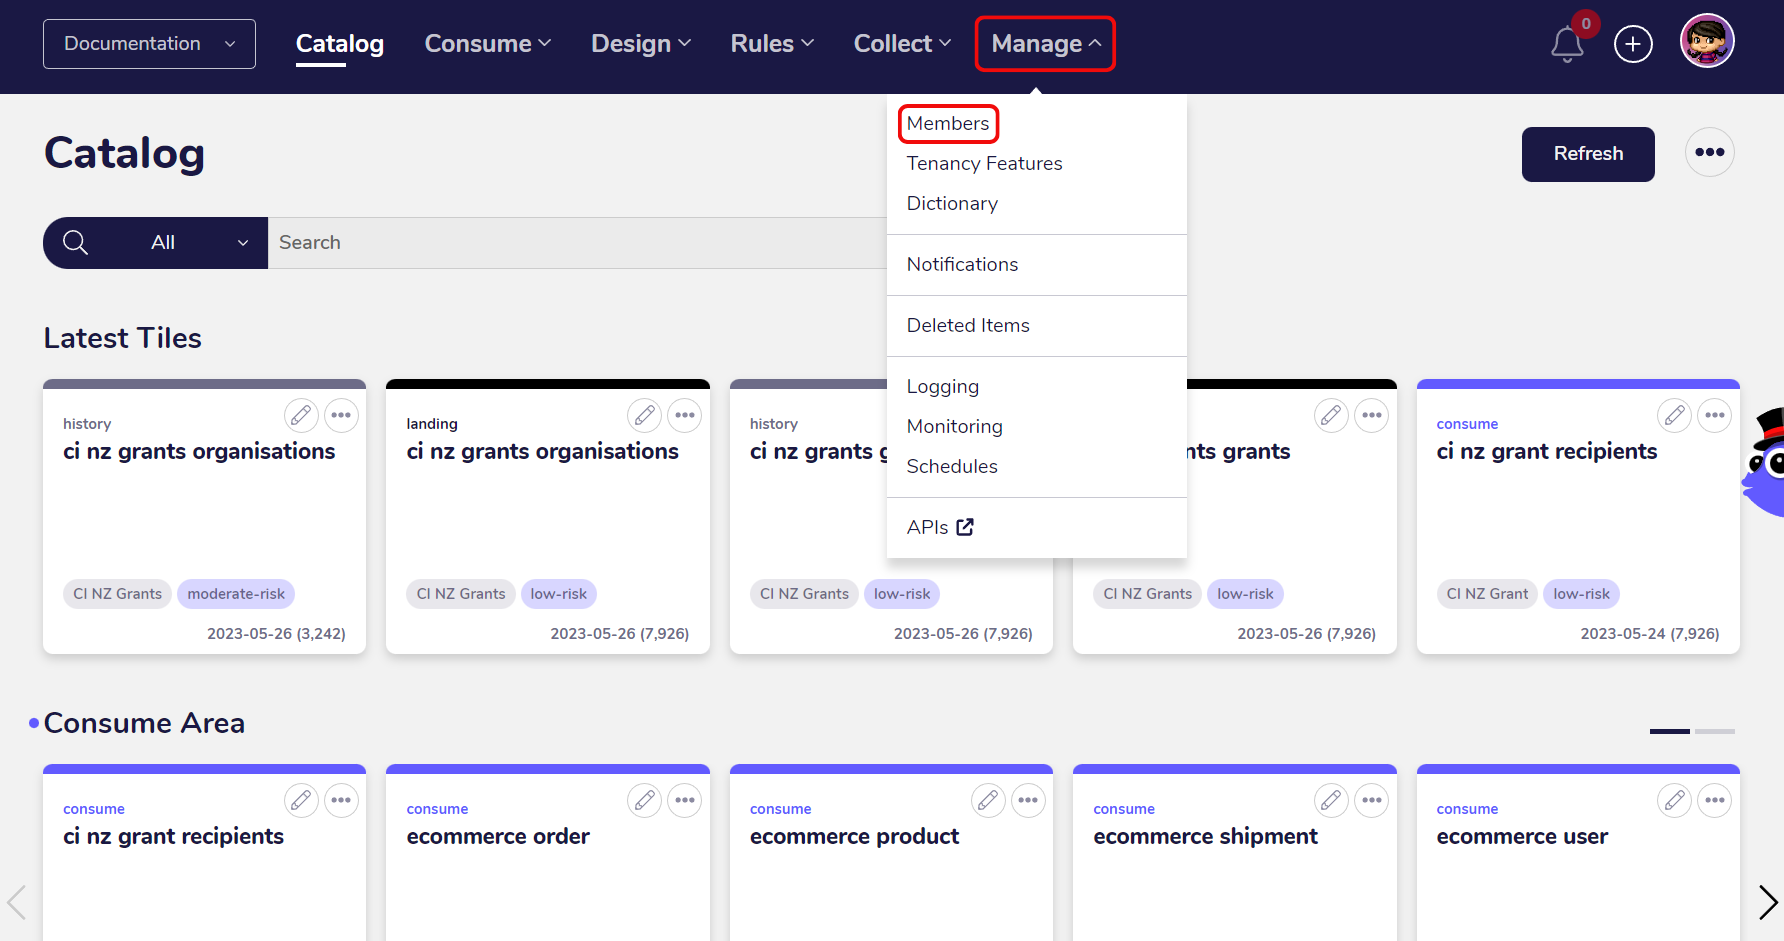
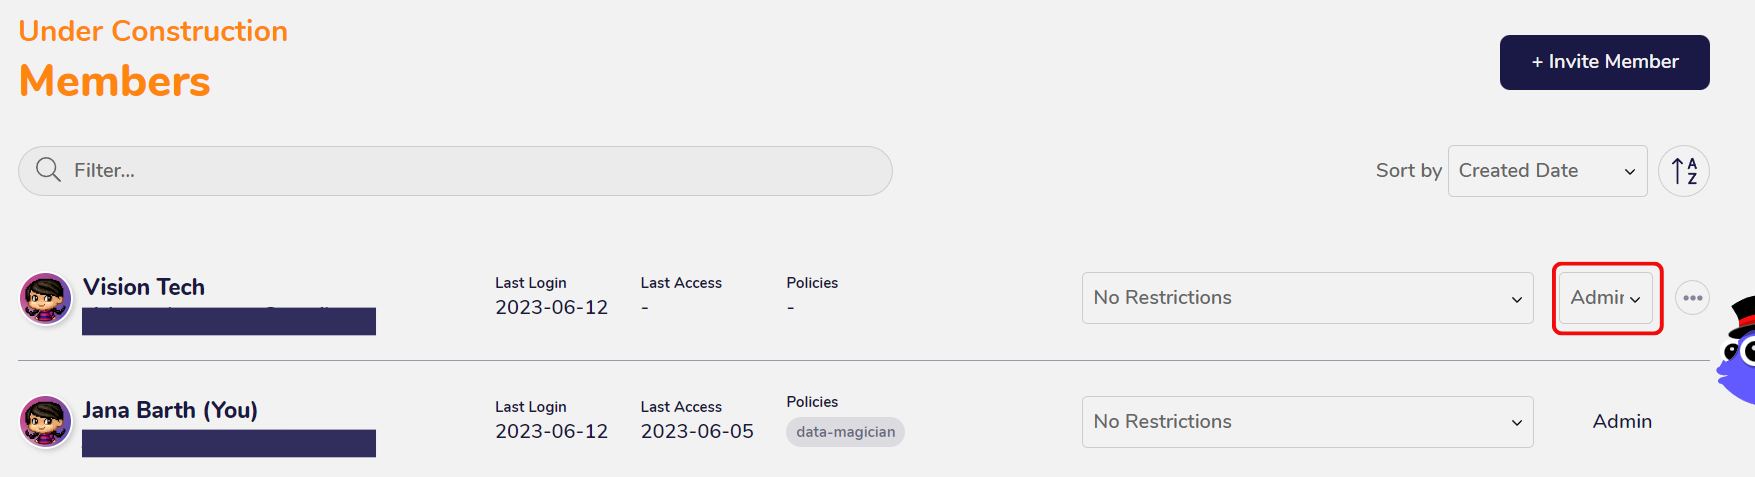
You can get a quick overview of all current team members in your AgileData Tenancy and their respective roles by clicking on the “Manage” menu and selecting the “Members” option.
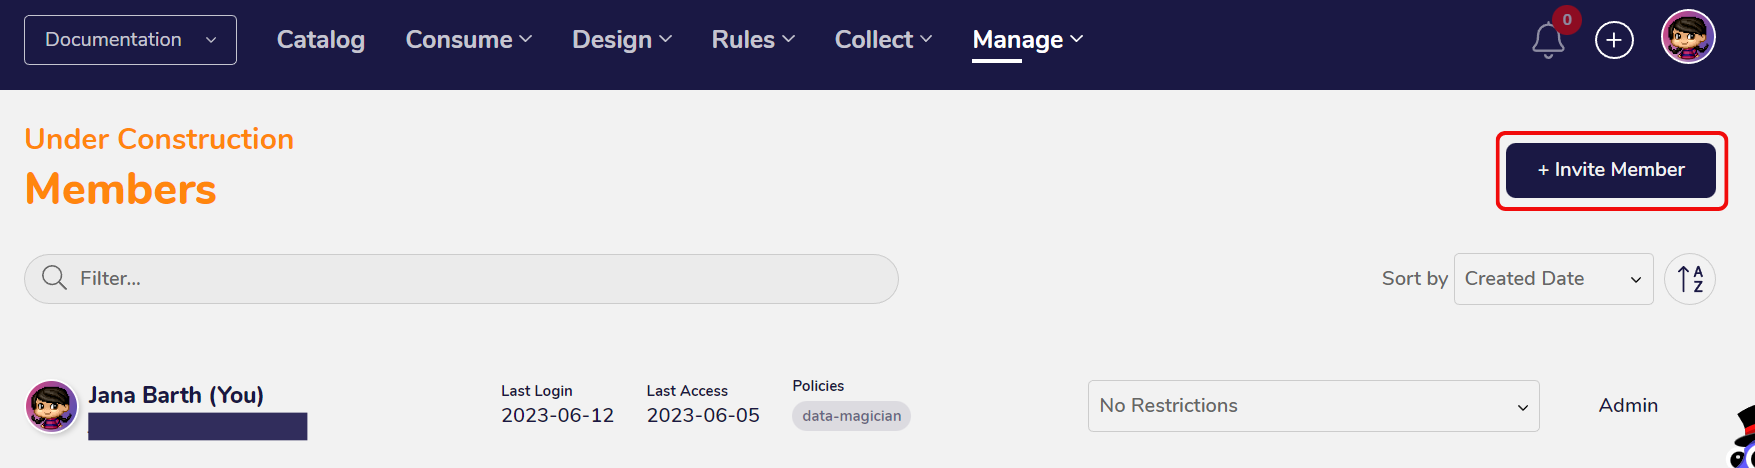
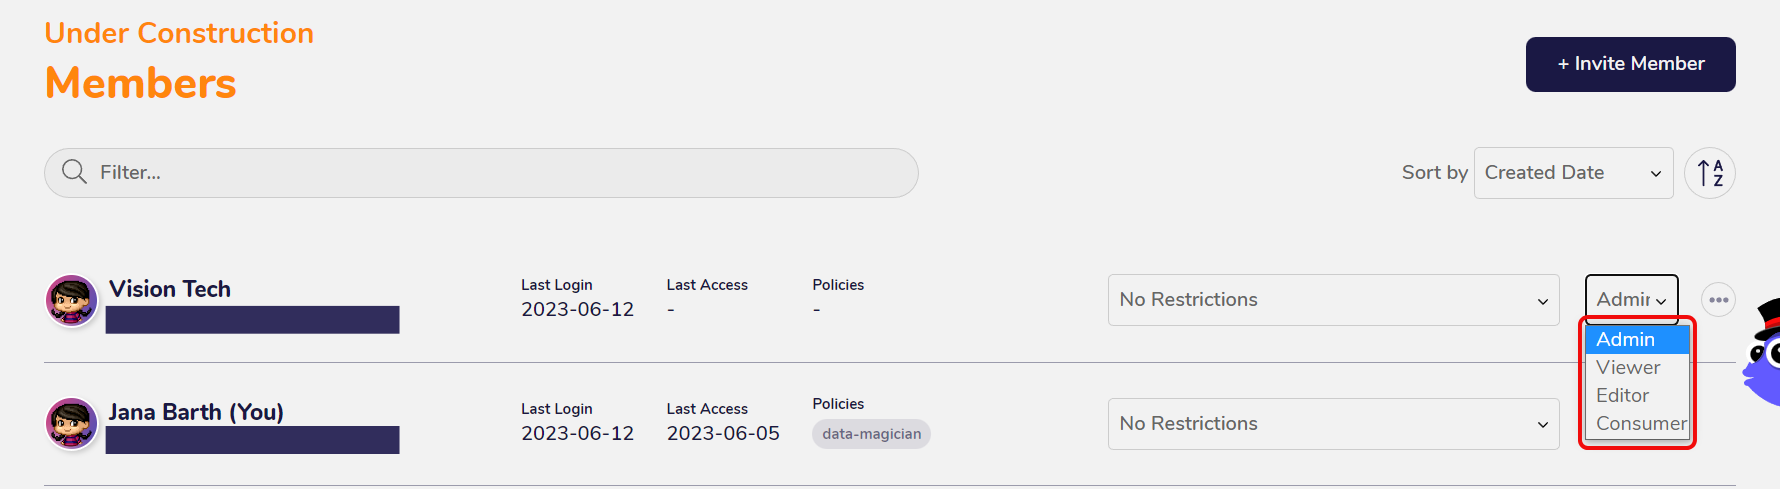
All members get listed together with the email address which is associated with their account, the last time they accessed the app, the last time they consumed data, their role in the app and which restrictions apply to them. The member list can get sorted by name, role, date created or date modified.

Only members with administrator roles can view this screen. Here you can also invite new members, disable or delete current members or change a members role.
2. Invite a new member to the app
To add a new member, click on “Invite Member”.
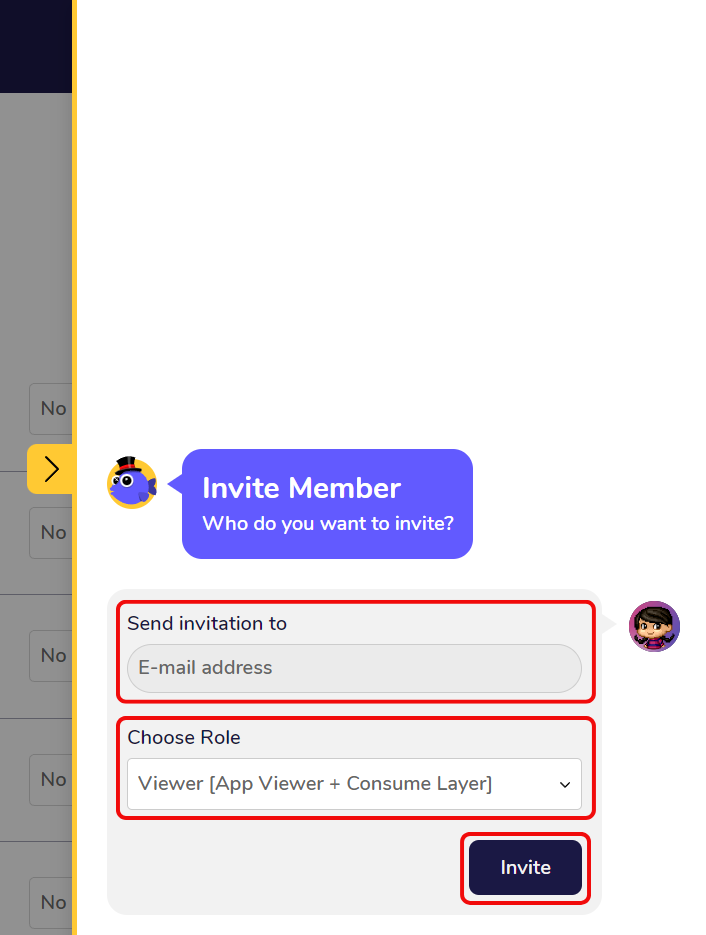
A window in the sidebar will open where you can input further information. Specify the email address of the new member and their role, then click on “Invite” to proceed. The entered email address will get associated with the member’s account in the AgileData App.
You can assign the following roles to a member:
Consumer - Consumers have access to your data in AgileData via third party tools, but they can’t access the AgileData App itself. This role is ideal for external contractors or third party partners.
Viewer - Viewers have access to data and access to the app in a view-only mode. This means they can’t change any rules associated with the data, but can view the tiles.
Editor - Editors have access to data and to the app. In contrary to Viewers they can use the majority of the features in the app like adding and editing rules and context.
Administrator - Admins have access to all features in the app including viewing the members screen, inviting new members or deleting existing members. This role should only get assigned to authorised personnel in your organisation.
You can preview the invited member by going back to the “Members” screen. You see the member still greyed out if they haven’t accepted the invitation. By clicking on the three dots on the right side of the member you can resend the invitation, if the member hasn’t received the email.

3. New member receives email
The invited member will receive an email to join the AgileData App.
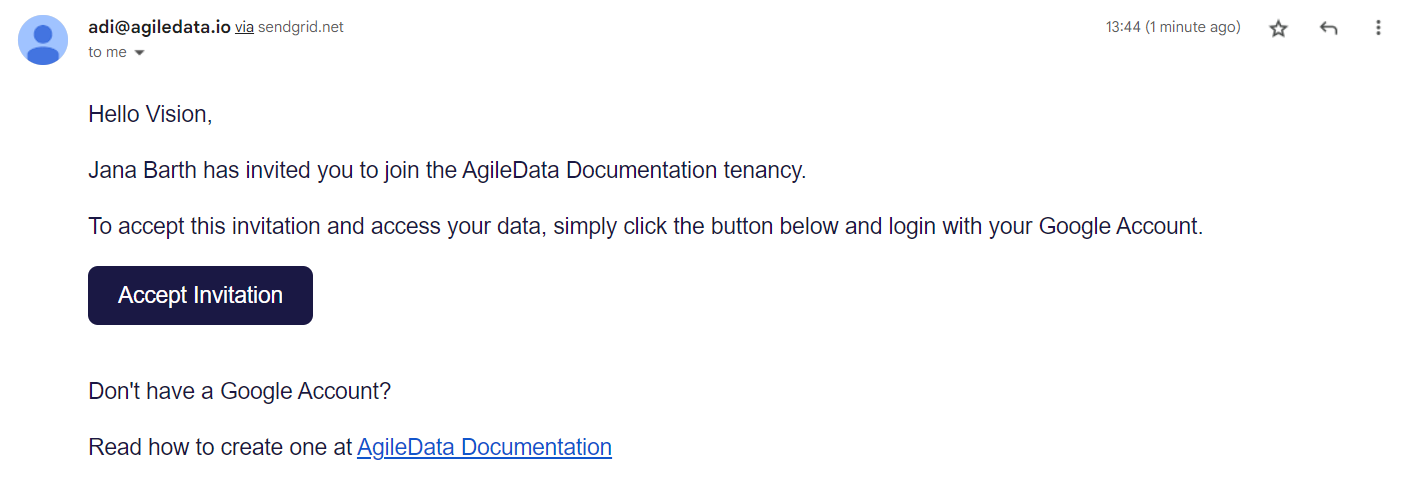
In order to login to the AgileData App and consume data they need a Google Account which is associated with the email address you used in their invite.
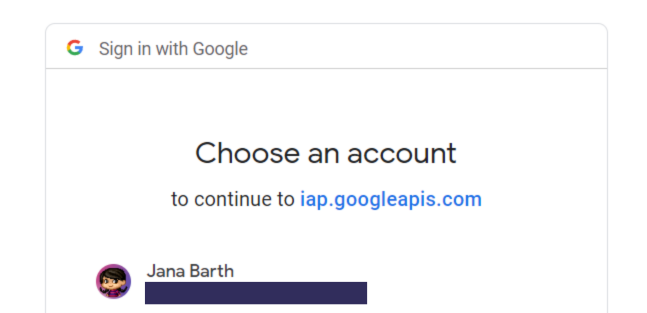
If they have a Gmail address or there already is a Google account associated to their current email, they can login directly. Otherwise, they need to create a Google account or link an existing one with their email.
You can find more information on how to create a Google Account in this guide.
4. View new member
If the new member has accepted the invitation and successfully logged into the AgileData App with their Google Account for the first time, you can see them along with the date they logged in the “Members” screen.

Optional Steps
1. Disable or delete existing member
To disable or delete an existing member, click on the three dots on the right side of the member and select “Disable” or “Delete”.
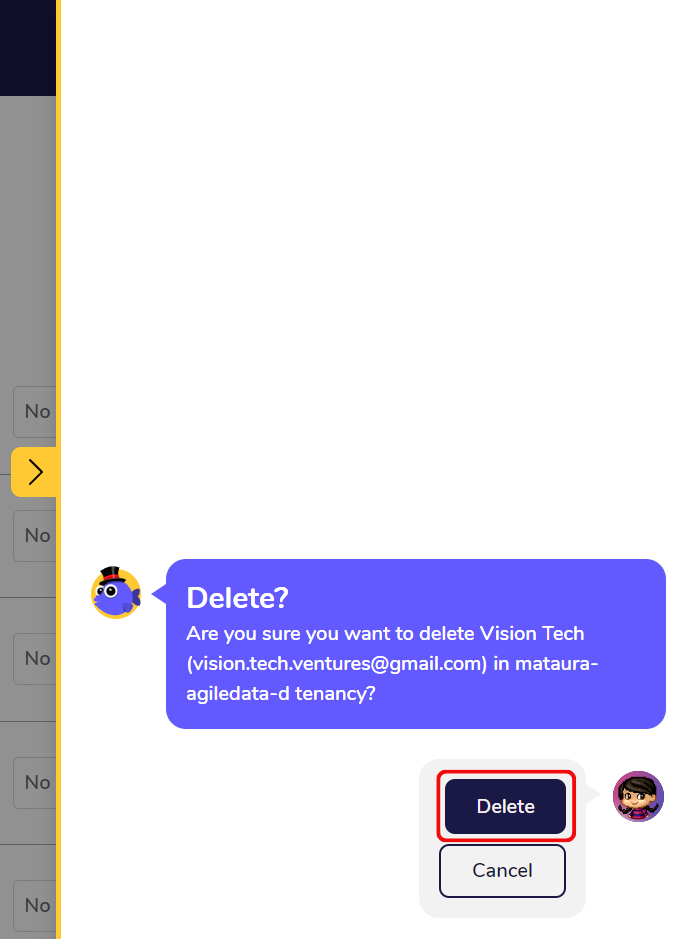
Deleting a member removes their account from the AgileData App permanently. Disabling a member just hibernates their account unless you decide to enable it again. Both actions can only be undertaken by users with the administrator role.

You receive a message in the sidebar to confirm your action. Click on “Delete” to permanently delete the member.
2. Change role of existing member
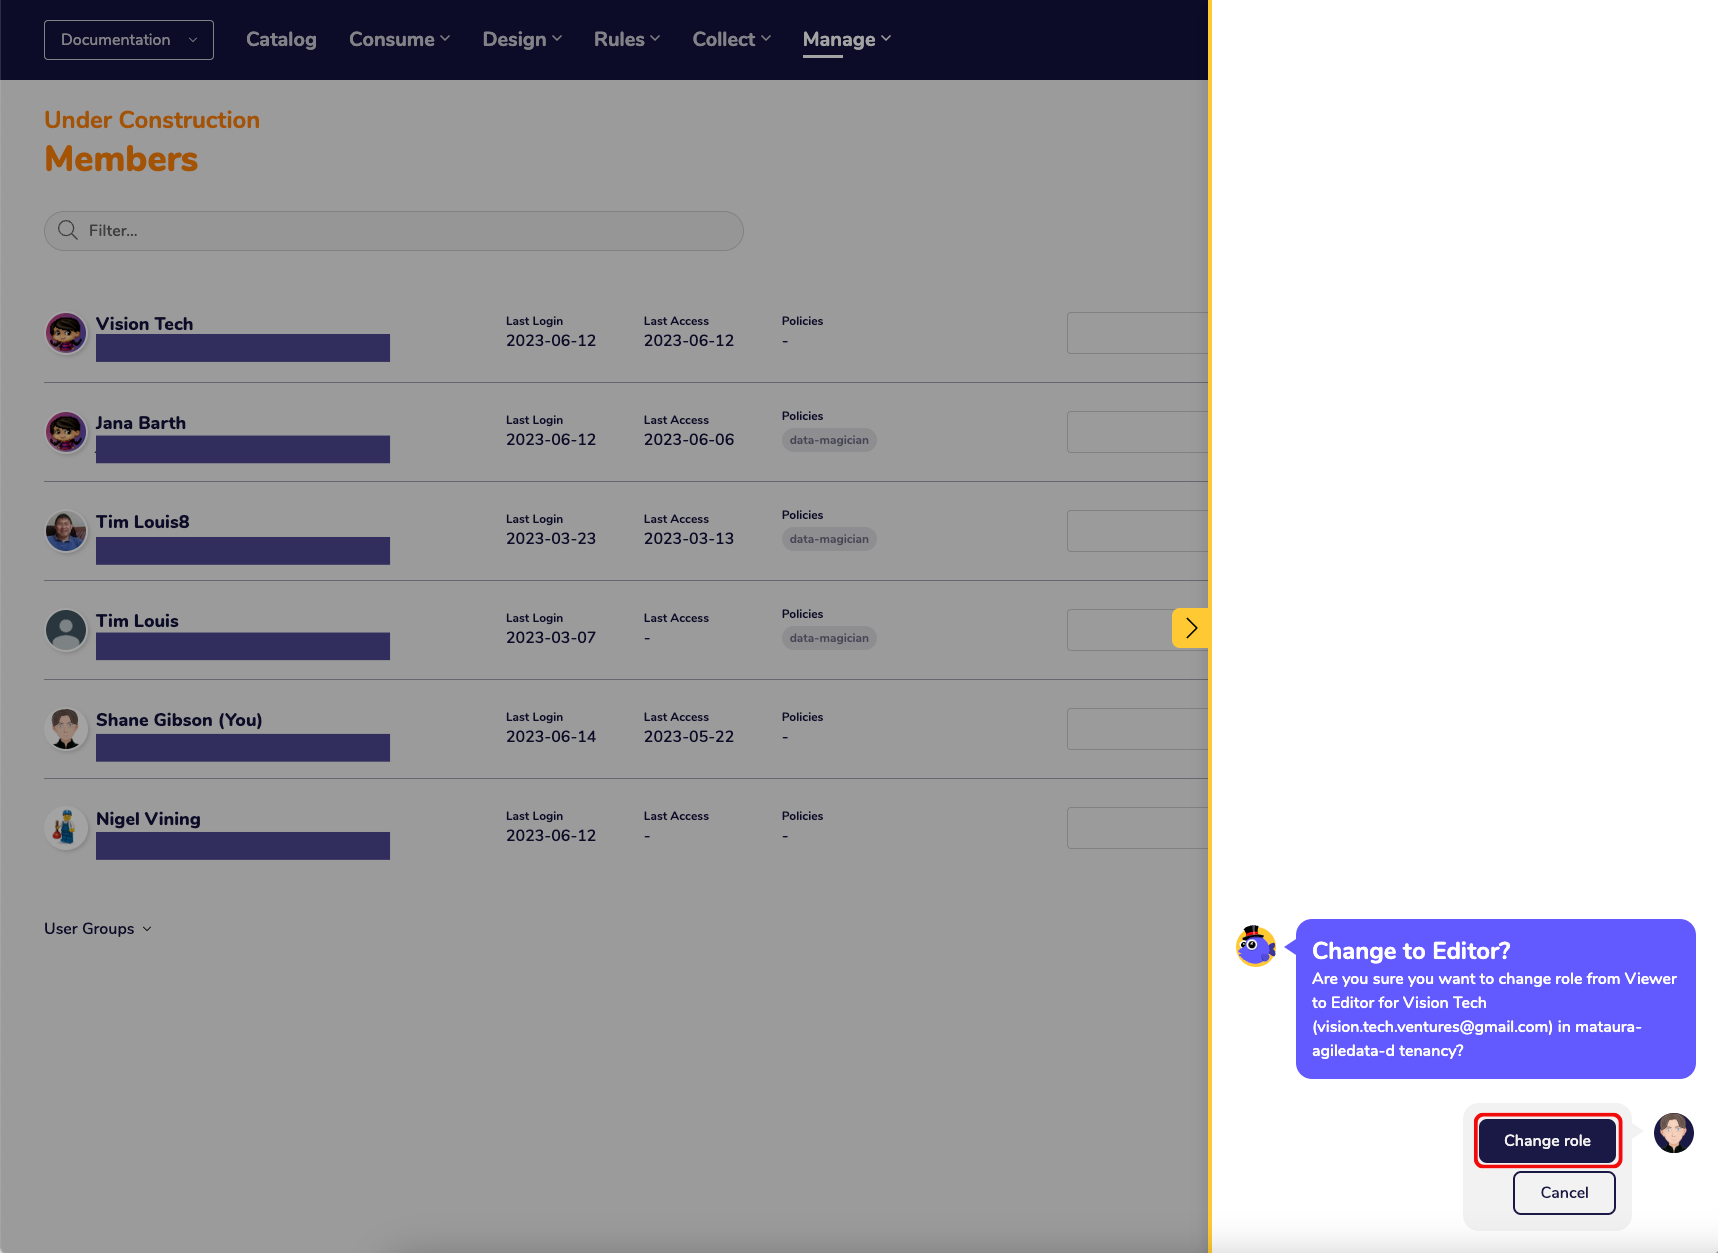
You can also change the role of an existing member. Click on the current role of the member and a dropdown menu opens.
Select the new role of the member in the dropdown menu.
You receive a message in the sidebar to confirm your action. Click on “Change role” to change the role of the member.