Amazon QuickSight
Overview
Would you like to explore the data from your AgileData Tenancy in the AWS QuickSight visualisation tool?
By connecting QuickSight to AgileData it is possible to directly design reports based on the data in your Consume Tiles.
Amazon QuickSight is a cloud-native, serverless business intelligence (BI) service that lets you build visualizations, perform ad hoc analysis, and gain insights through machine learning (ML) capabilities such as anomaly detection, forecasting, and natural language querying. QuickSight utilizes its robust in-memory engine SPICE (Super-fast, Parallel, In-memory Calculation Engine) to rapidly perform advanced calculations and deliver visuals.
In this guide we are covering the process of connecting QuickSight to the data in your AgileData catalog.
Steps
1. Sign in to QuickSight
To get started, open QuickSight
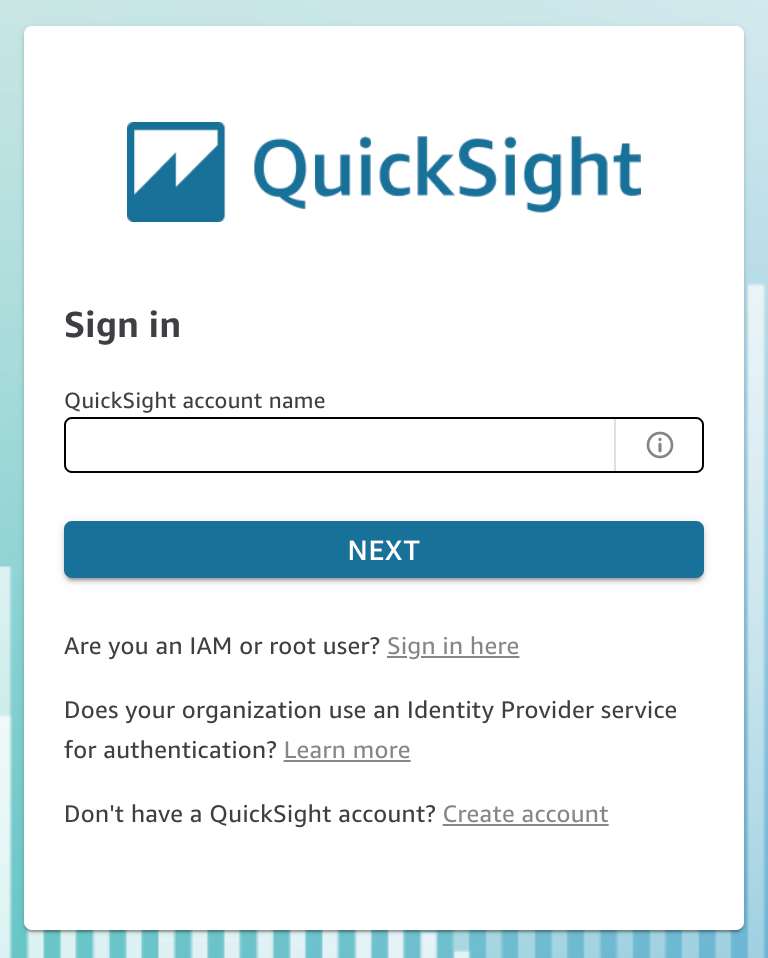
For QuickSight account name, enter your account name. This is the name that was created when the QuickSight account was created in AWS.
2. Setting up your connection to Agiledata.io
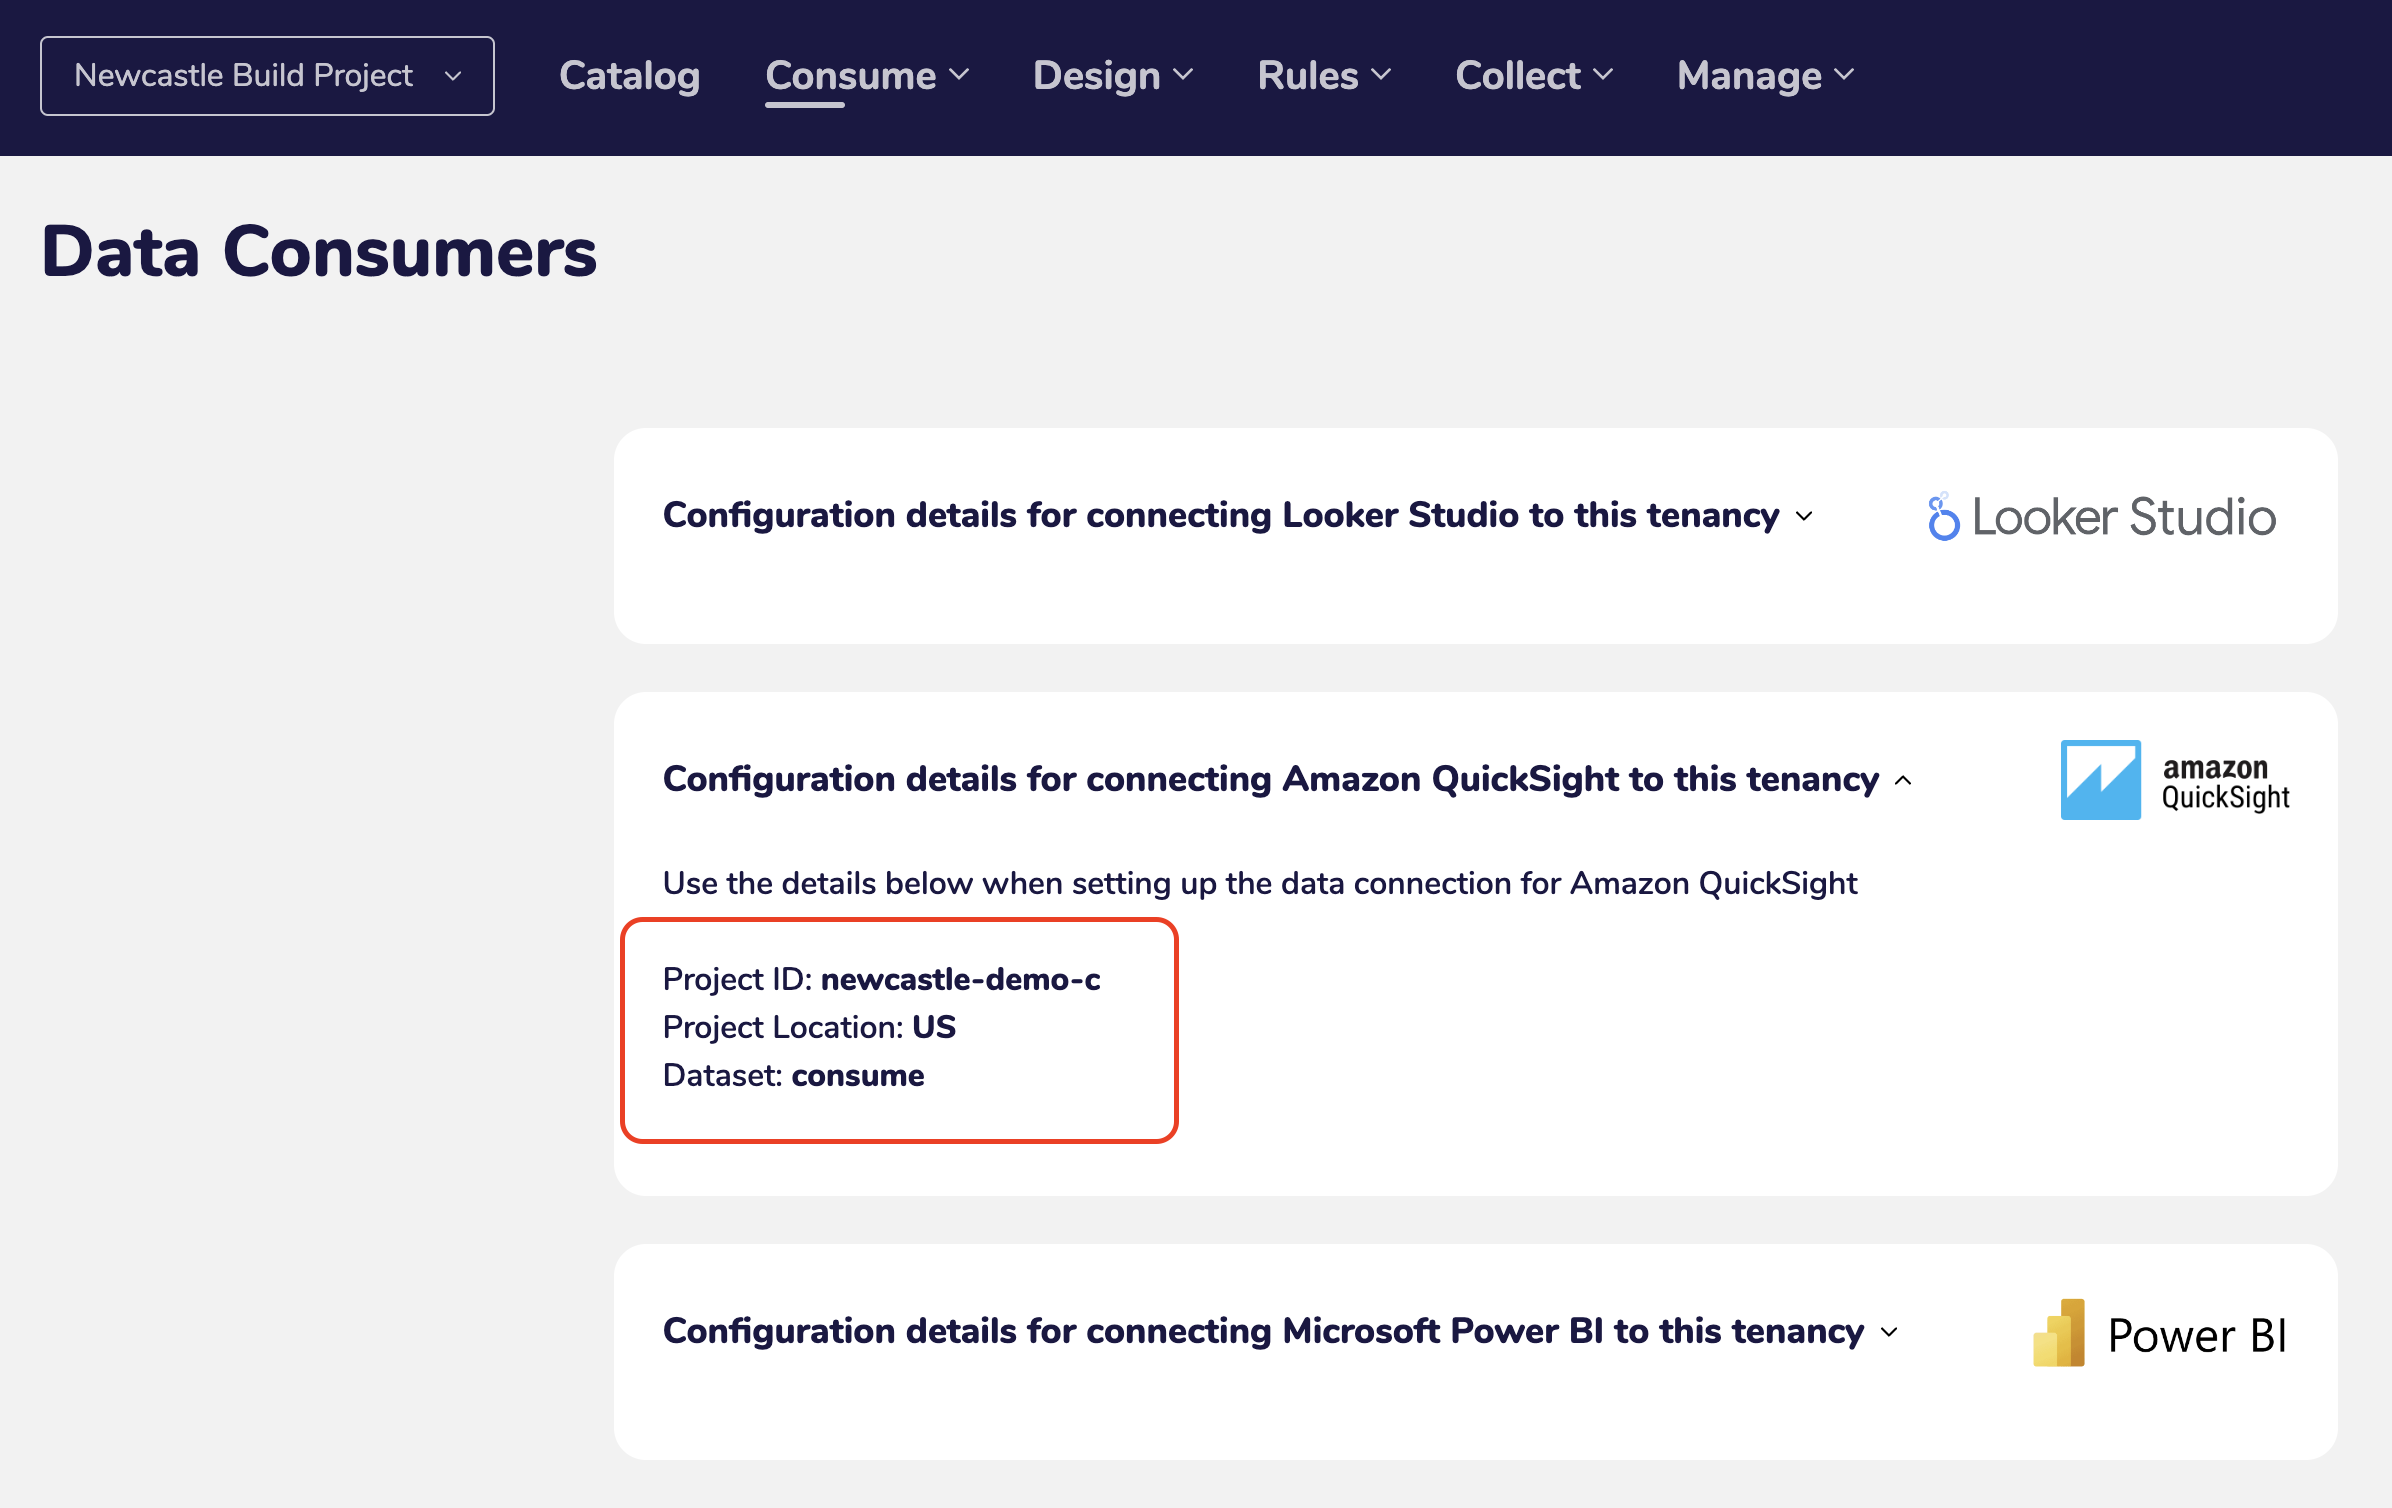
To analyze your BigQuery data in QuickSight, you first need to create a BigQuery data source. Complete the following steps:
Collect the project and location details from the Data Collectors page in your AgileData tenancy
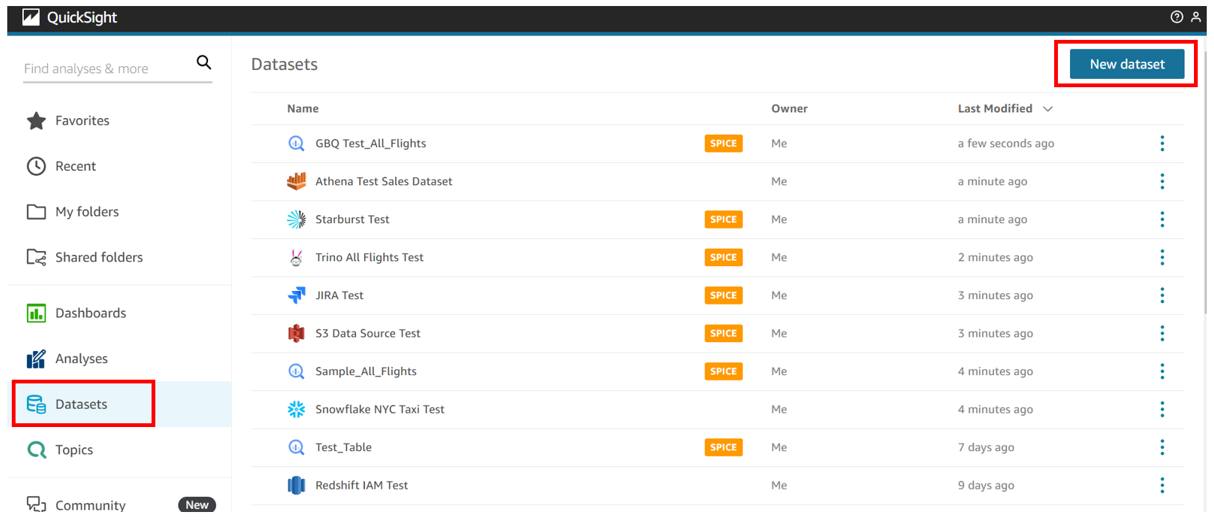
On the QuickSight console, choose Datasets in the navigation pane.
Choose New dataset
Choose Google BigQuery as your data source.
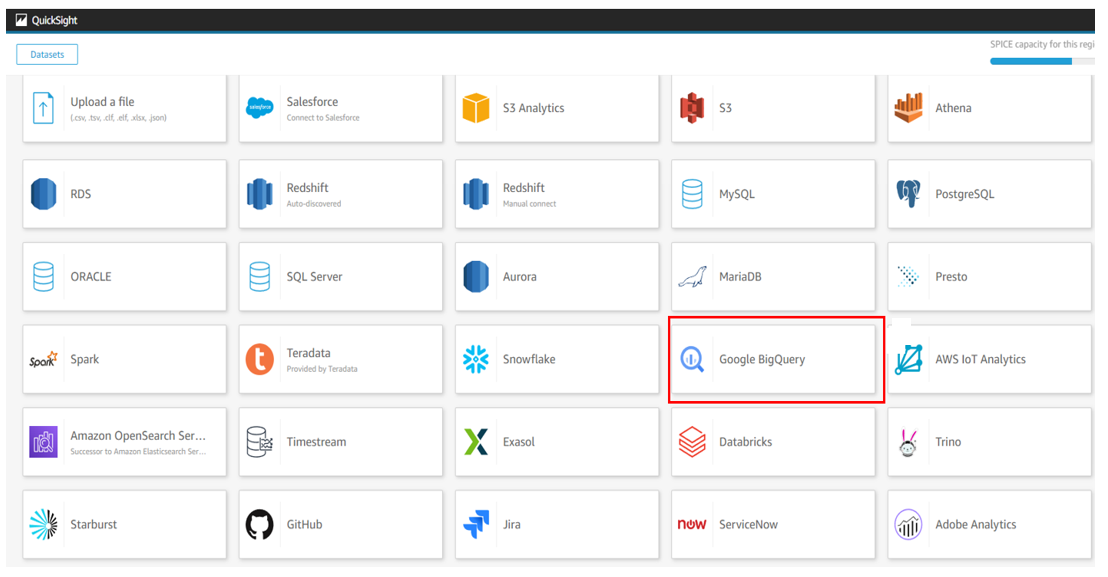
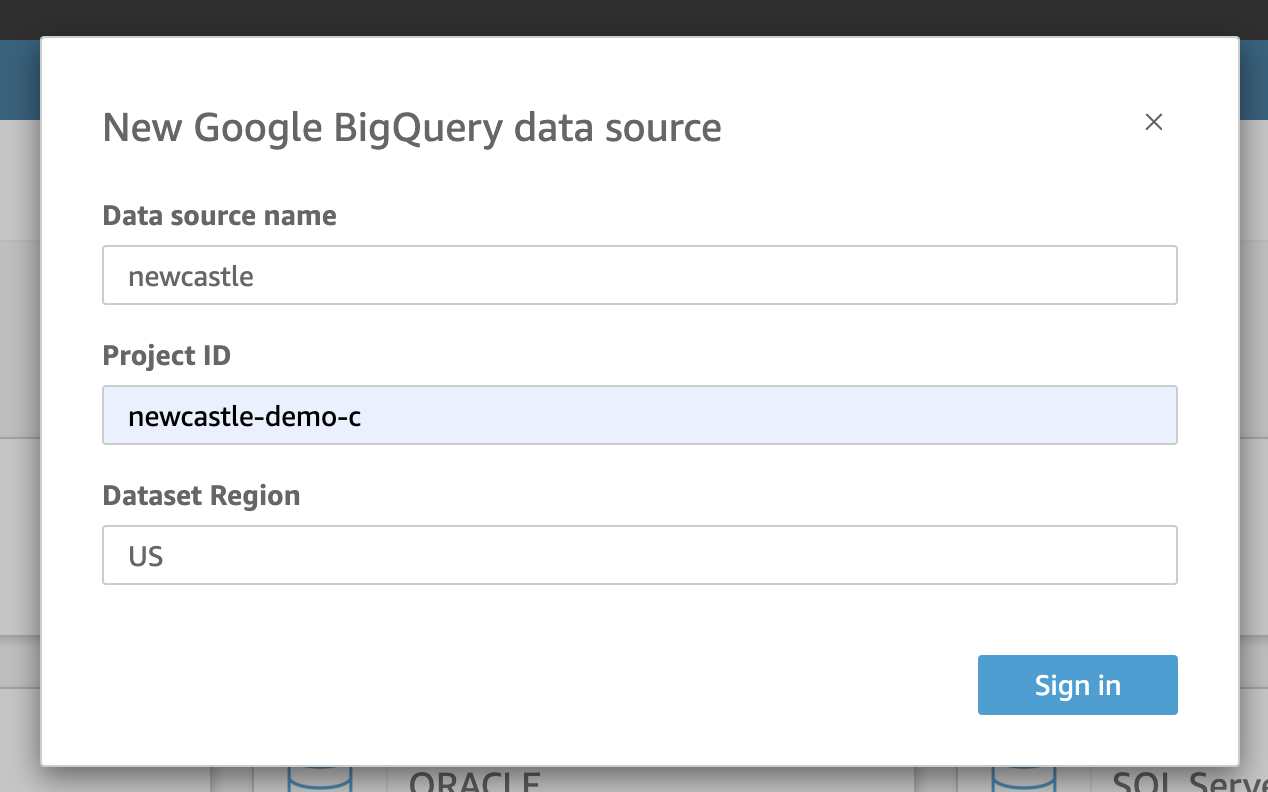
For Data source name, enter a descriptive name
Enter the project ID and location details that you collected from your AgileData tenancy
Choose Sign in.
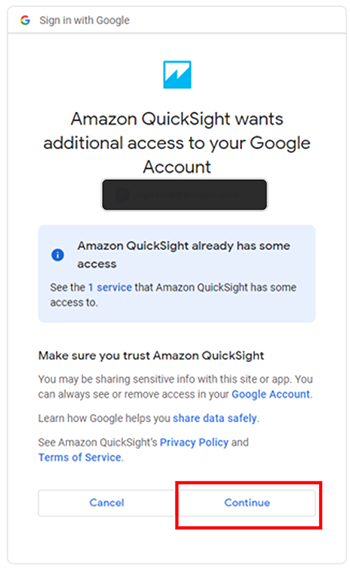
When prompted, enter your Google account email and password.
Review your access details and choose Continue.
This gives permissions to QuickSight to view your BigQuery data and manage in QuickSight for the given project ID and dataset region.
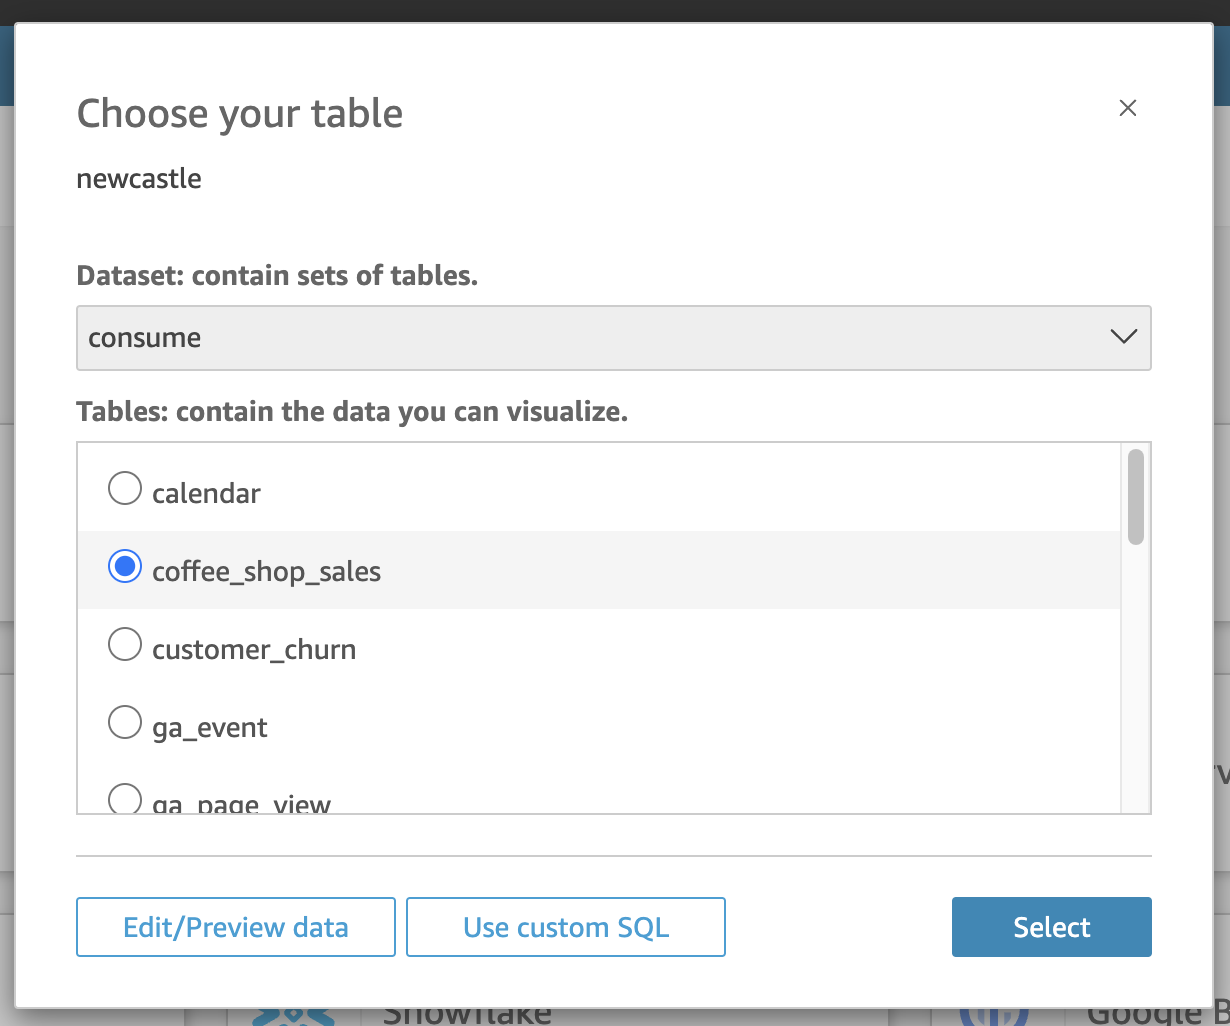
Now you are ready to choose a consume tile from your tenancy
On successful creation you will see…
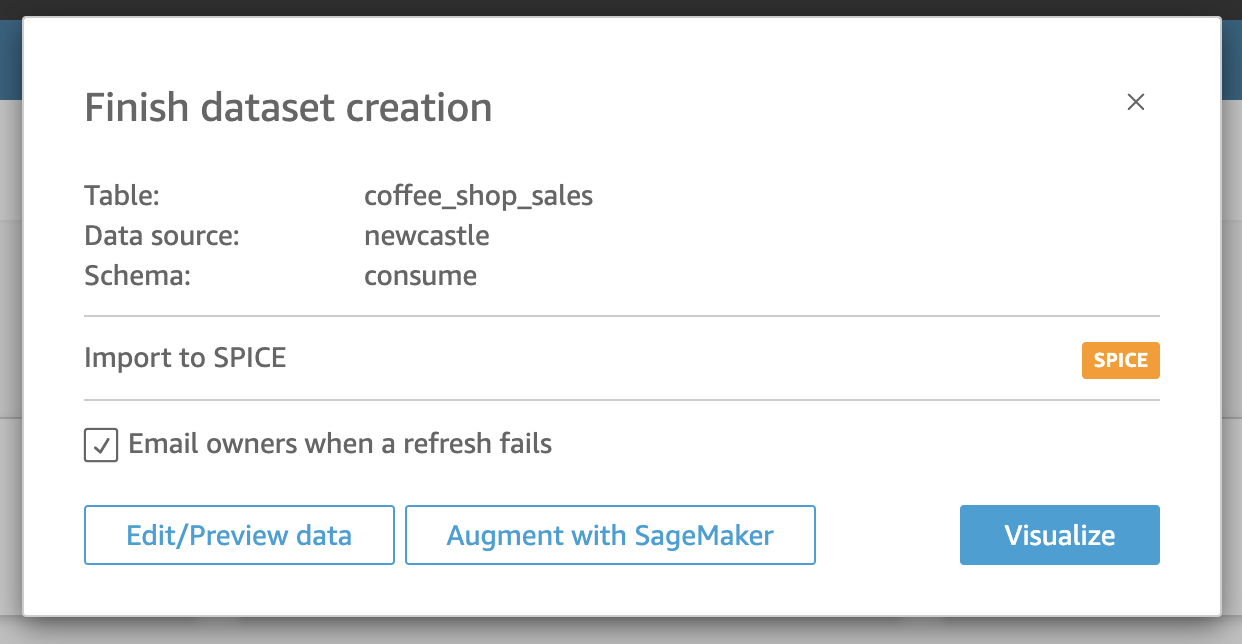
Click Visualise, then you will see your consume data in QuickSight ready to use ….
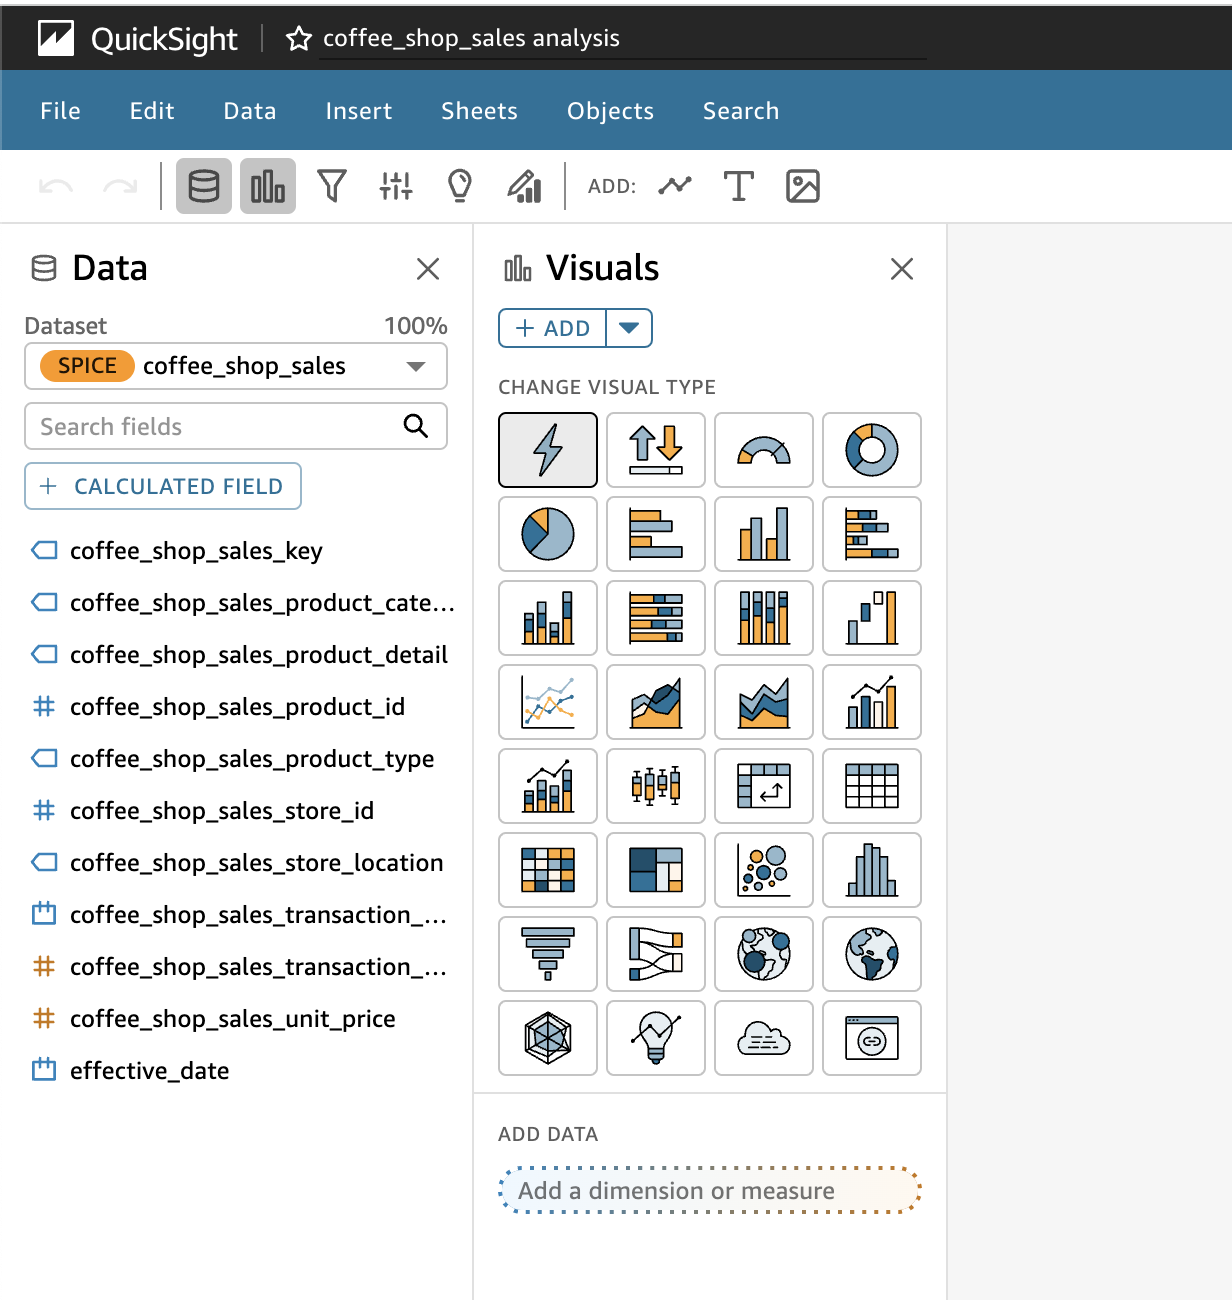
Optional
If you don’t have a QuickSight account you can create one following these steps
1. Creating a QuickSight Account
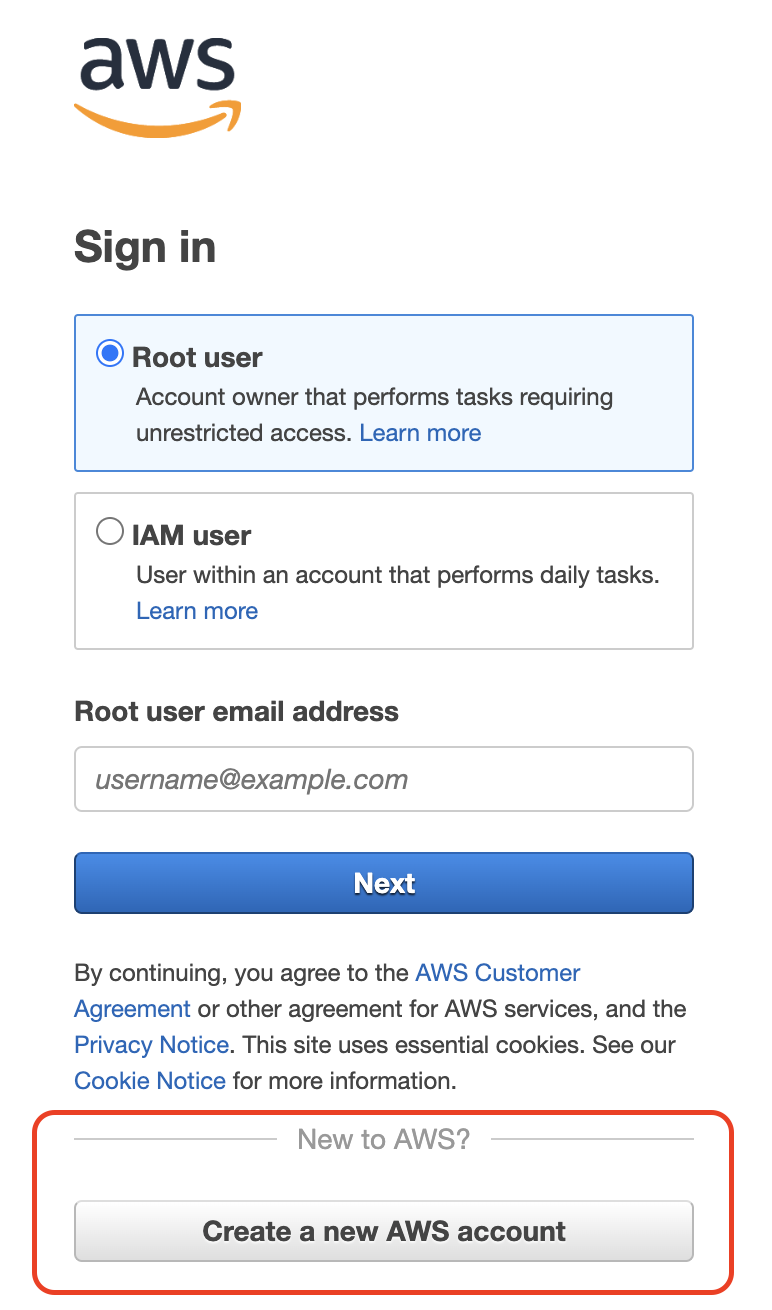
If you don’t have a QuickSight account, you can Create Account
Use the ‘Create a new AWS account’ button, and follow the steps to set up a new account
Once you have completed the signup process you will see a confirmation

The account you have just created is an IAM account which lets you login to the Amazon Services Console.
Now you can QuickSight SignUp to enable the QuickSight service
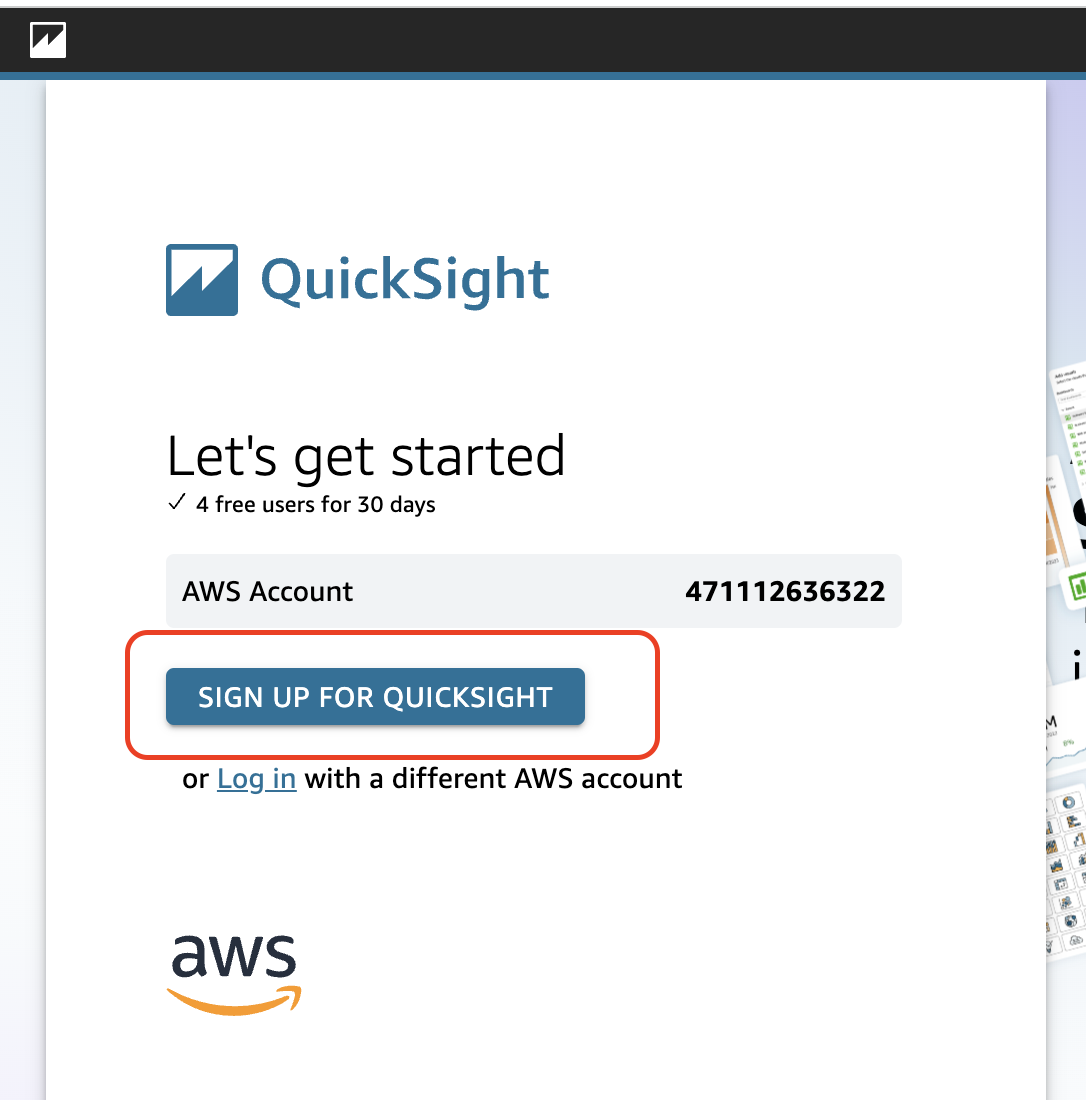
Click the ‘Sign Up for QuickSight’ to start your free trial.
Complete the QuickSight registration:
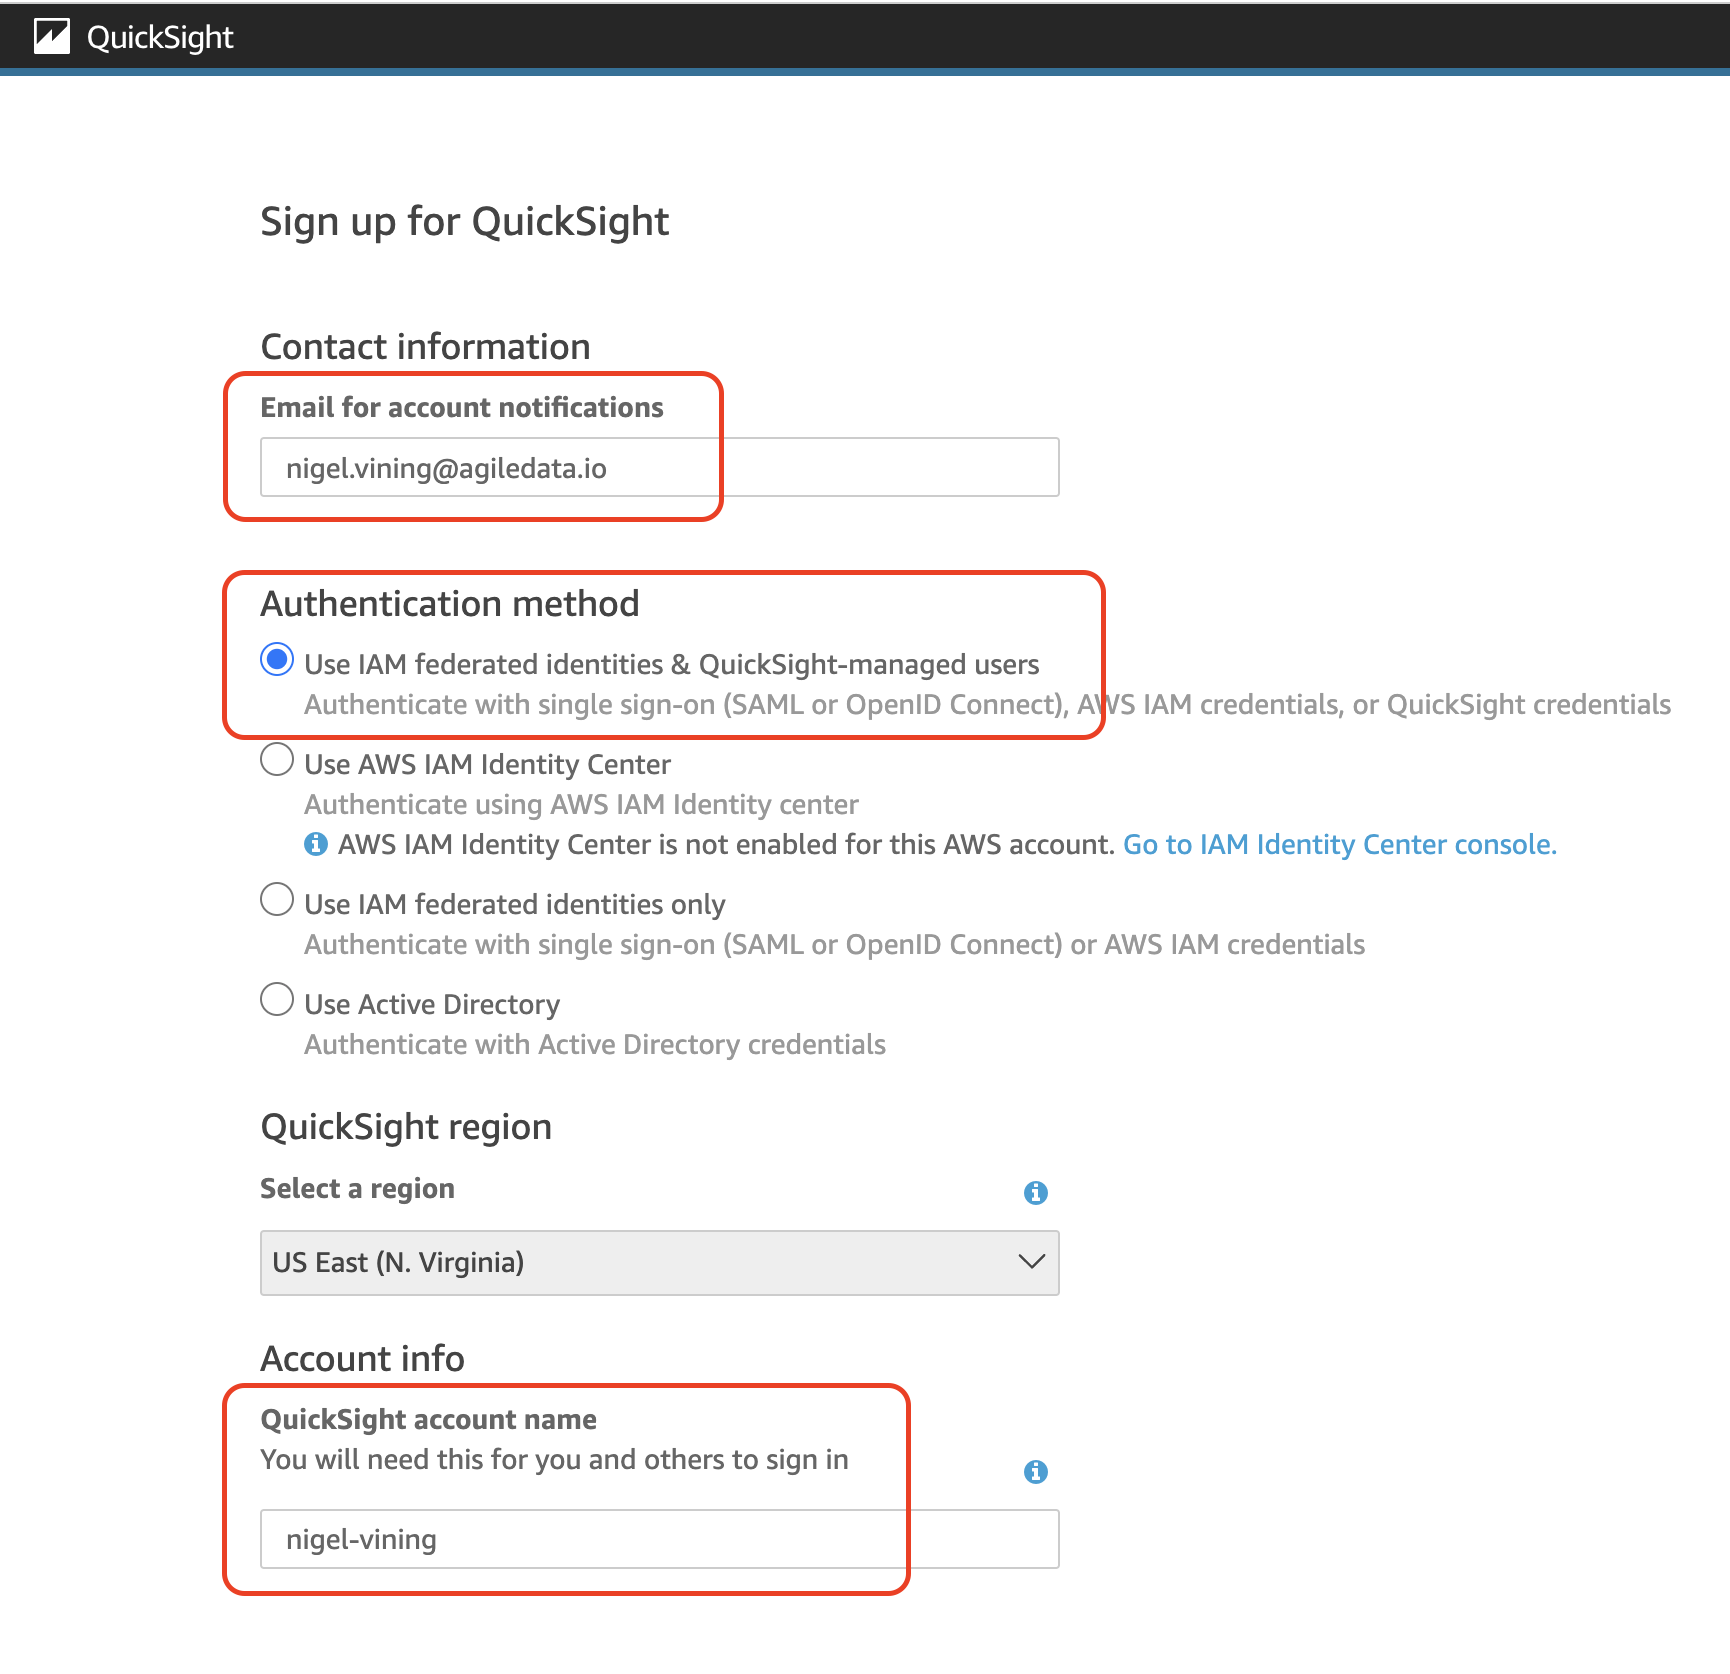
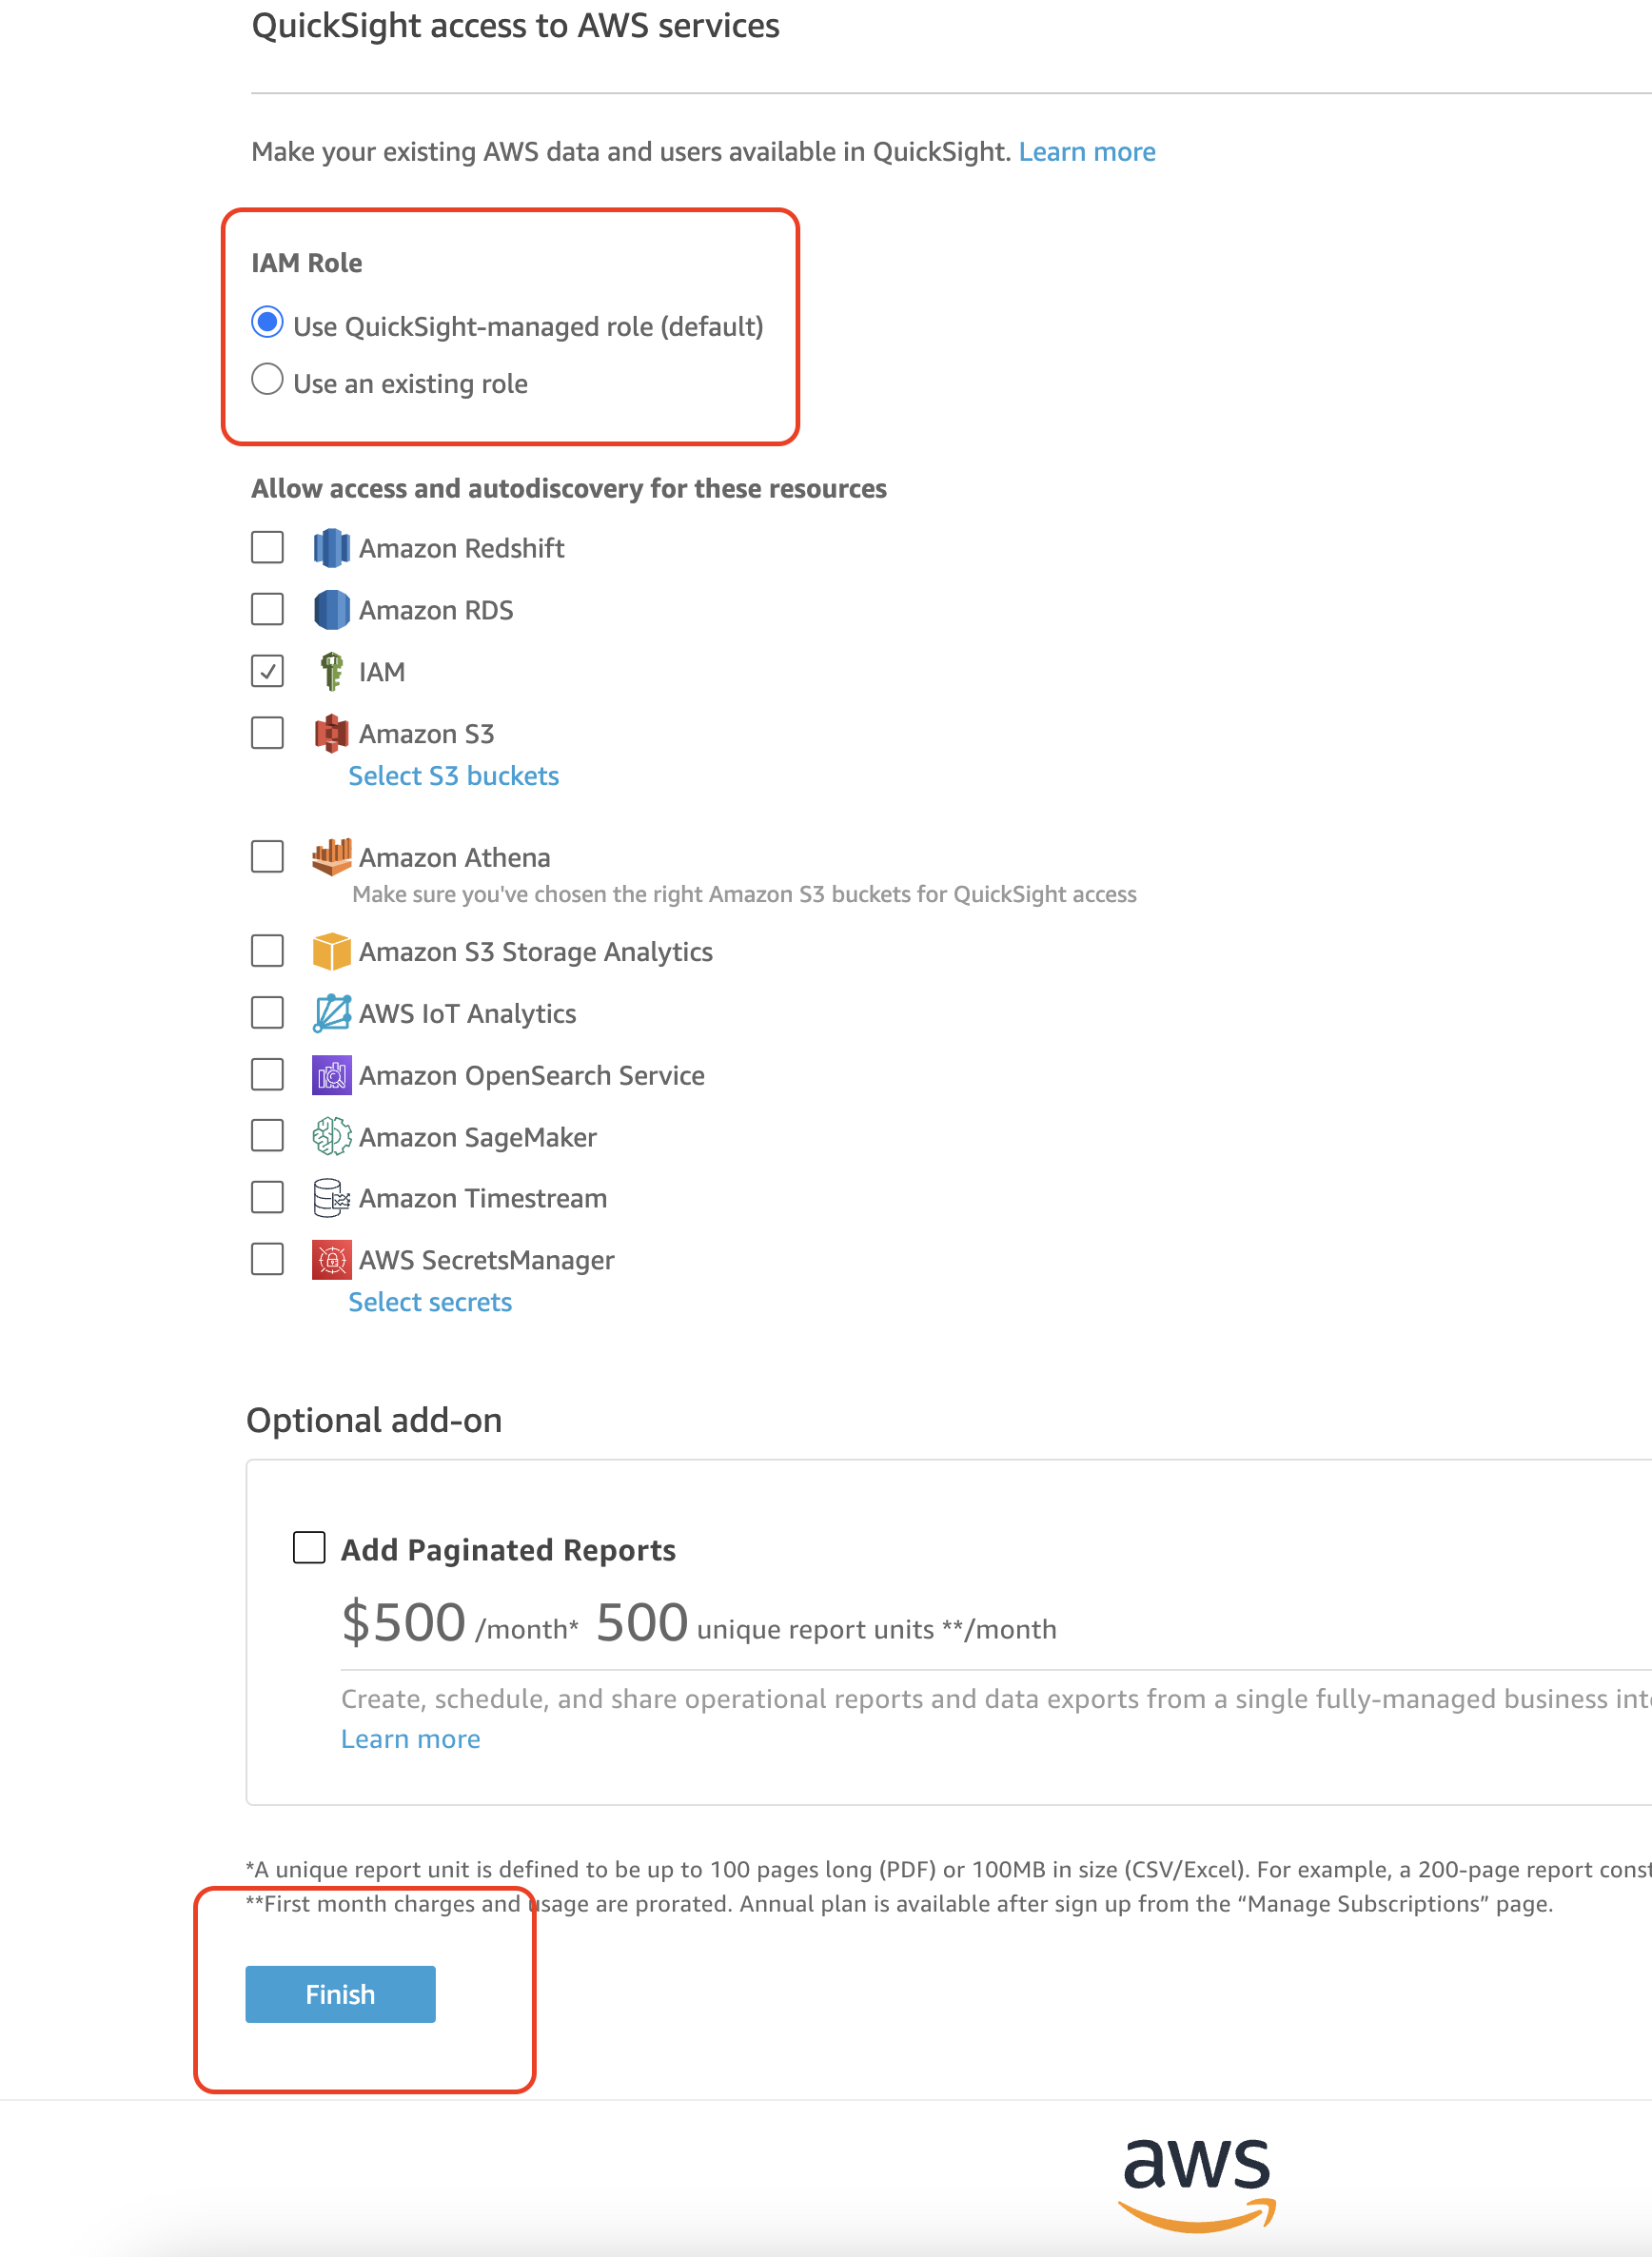
When successfully completed you will be redirected to QuickSight
